Blog

Your washing machine works hard, running several times a week and handling messy laundry. Without regular care, detergent residue, mineral deposits, mold, and debris build up inside. This leads to odors, poor performance, slow drainage, and costly failures problems, a simple monthly cleaning could prevent.
In Roseville and the greater Sacramento area, here summers run hot, and the local water supply is notably mineral-rich, washing machines tend to accumulate limescale faster than in softer-water regions. This guide covers everything you'll need from a quick monthly routine to a full deep clean so your washer stays efficient, fresh-smelling, and long-lasting for years.
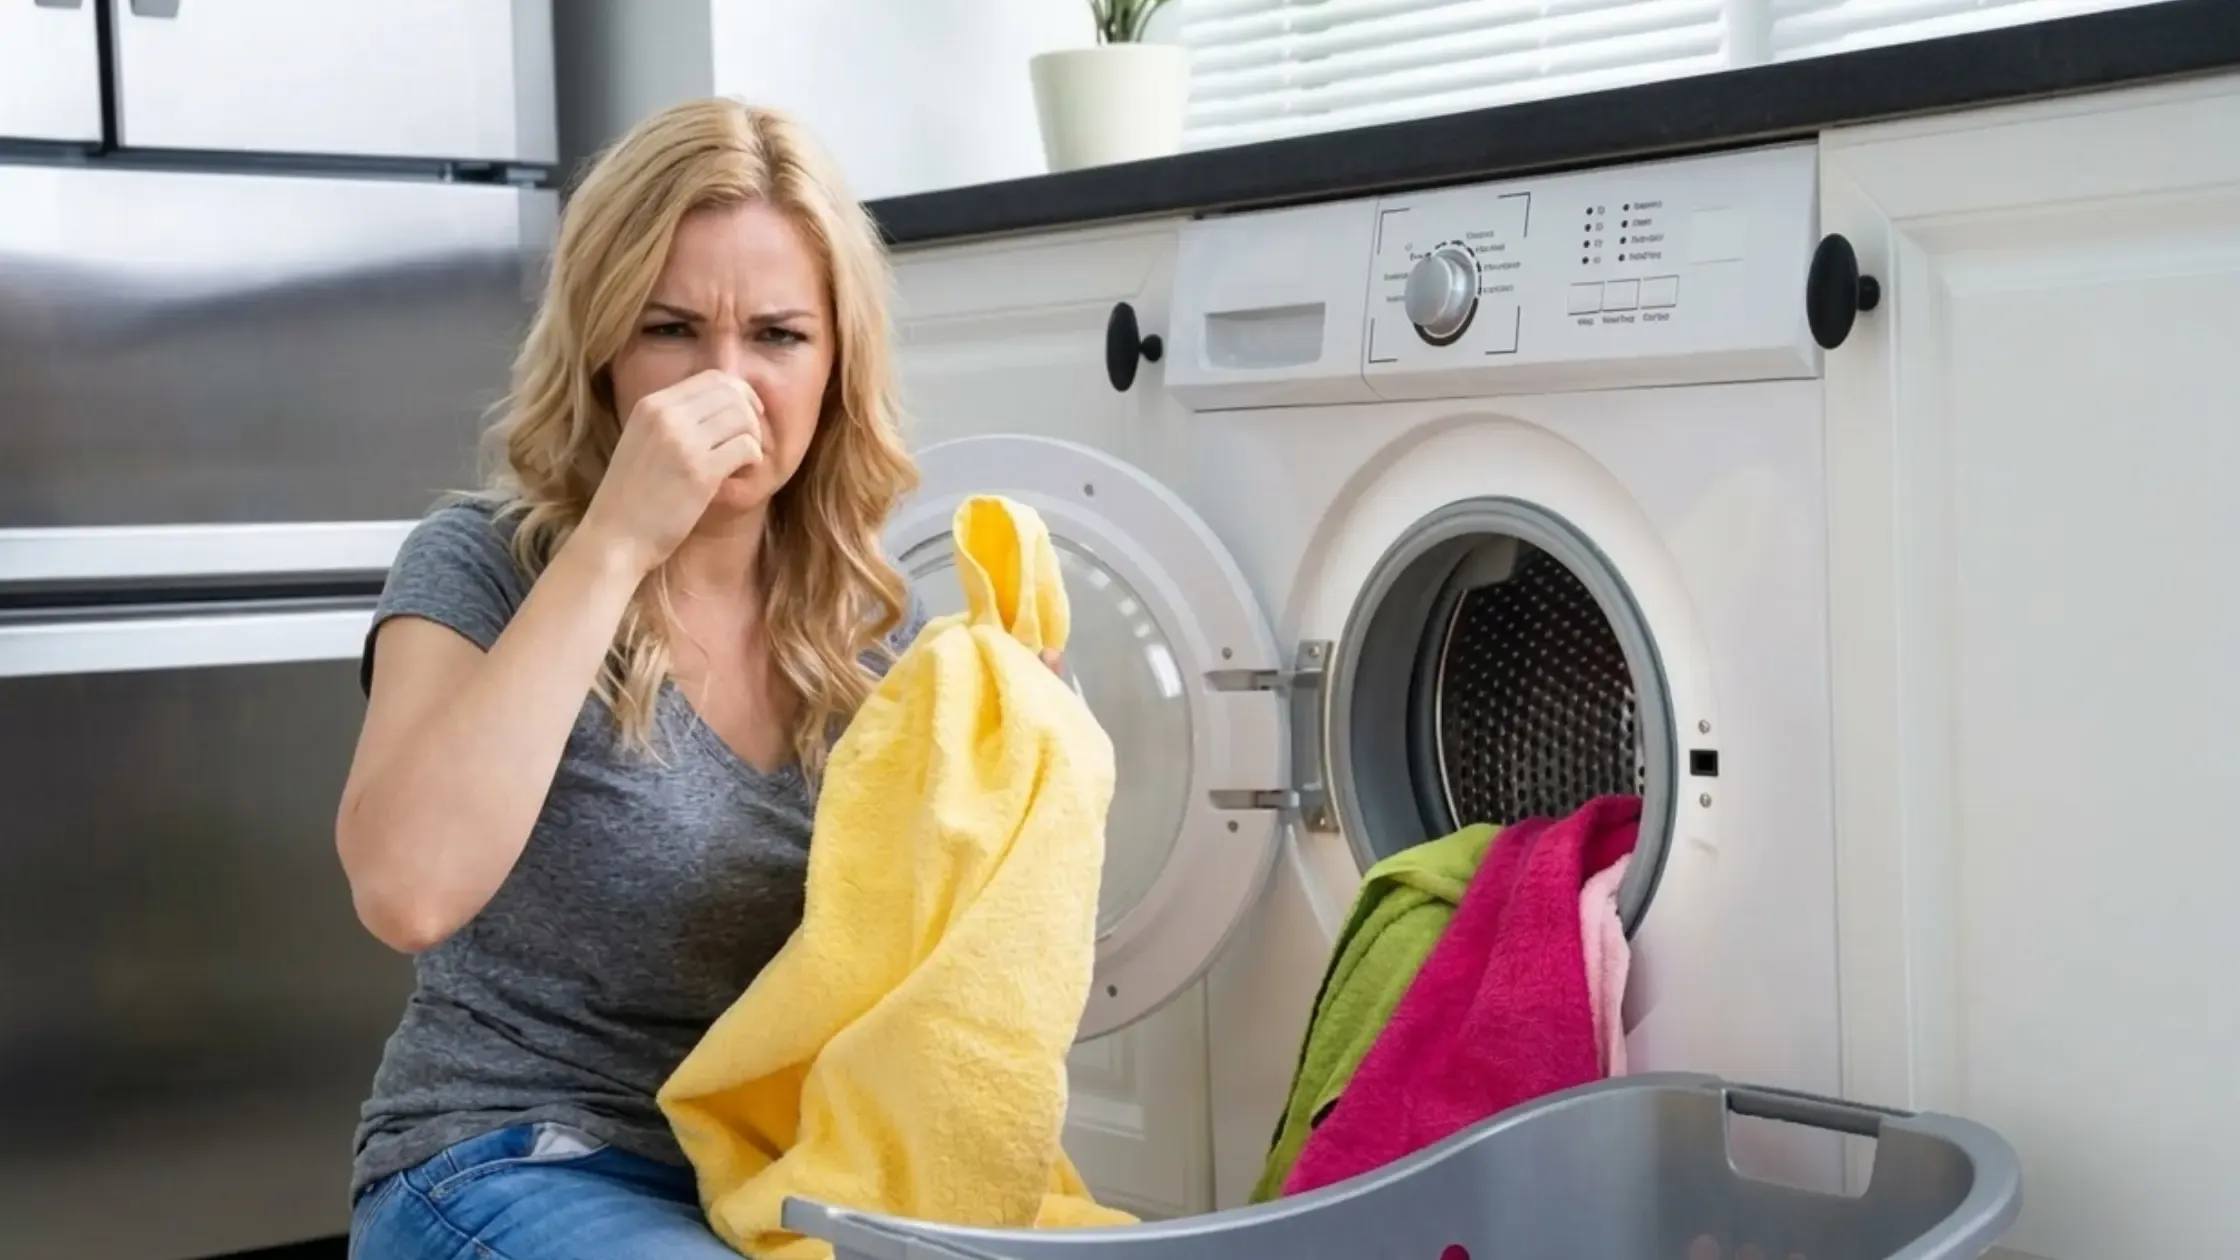
Most people assume that a machine that cleans clothes must stay clean itself. It doesn't. Every wash cycle leaves behind a small amount of detergent residue, fabric softener film, and dirt particles that didn't fully rinse away. In a warm, dark, moisture-rich environment, that residue becomes a breeding ground for mold, mildew, and odor-causing bacteria, which transfer directly to your clothes during the next wash.
Roseville's hot summers speed up bacterial growth. What takes weeks in cooler climates can happen in days. Hard water adds calcium and magnesium to drum walls, elements, and hoses, reducing efficiency and shortening the machine’s life.
Beyond hygiene, a dirty washing machine works harder than it needs to. A drum coated in soap scum transfers that film back onto your clothes. A clogged drain pump filter forces the motor to work against resistance with every cycle. A gunked-up detergent dispenser prevents cleaning agents from reaching the drum in the right amounts. The result is laundry that never quite smells fresh, even after a full wash.
Clean your machine once a month or every 30 cycles—whichever comes first. With heavy loads, pets, or young kids, aim for every three weeks.
Knowing the causes helps you prevent washing machine problems between cleanings.
Using too much detergent is the most common and harmful habit for washer cleanliness. Modern machines use less water, so extra detergent doesn’t rinse away. It coats the interior with sticky film that traps dirt and feeds mold. Always measure detergent and use a high-efficiency formula if needed.
We've all done it: started a load, got busy, and found the clothes sitting wet hours later. If it becomes a habit, the combination of warmth, moisture, and organic material from dirty laundry creates the ideal environment for mold and mildew within a few hours. Move clothes to the dryer as soon as the cycle ends. Setting a phone alarm for when the cycle finishes is a simple habit that'll eliminate this problem entirely.
Damp towels, wet swimsuits, and sweaty workout clothes add moisture to the hamper, which can encourage bacterial growth. Hang items to dry before tossing them in the hamper.
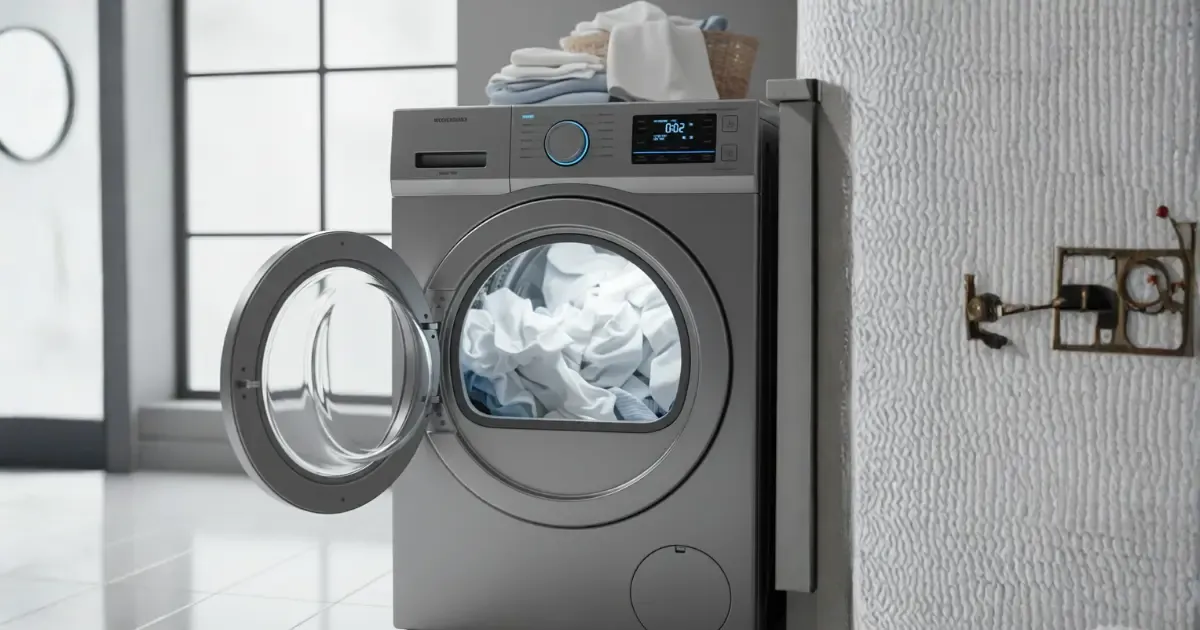
Closing the washer door traps moisture inside, creating a mold-friendly environment. Leave the door and detergent drawer slightly open after your last load to let the interior dry overnight.
You don’t need special equipment for most cleaning. The needed supplies are available at hardware stores throughout Roseville and Sacramento.
· White vinegar breaks up mineral deposits and soap scum and deodorizes without harming rubber seals.
· Baking soda neutralizes odors and offers a gentle abrasive for scrubbing the drum.
· Affresh tablets provide a simple commercial option—just drop one in the drum for a deep clean.
· Microfiber cloths gently wipe surfaces, hold moisture, and leave a streak-free finish.
· An old toothbrush or small brush reaches dispenser crevices, gasket folds, and agitator gaps for detailed cleaning.
· A spray bottle helps mist the vinegar solution evenly onto the gaskets and drum walls.
· Use a shallow tray and towel during the drain pump filter step to avoid water spills in your laundry room.
Note: Don't use dish soap to clean your washing machine. Dish soap creates far more suds than any detergent designed for washers. Residue left behind will foam excessively and overflow during the next wash cycle.
Front-loaders are efficient and gentle, but mold and mildew are more likely because the door seal stays damp. A thorough monthly cleaning keeps problems away.
Check if your machine has a Tub Clean or Self-Clean cycle. If so, use it. These cycles run hotter and longer than standard settings, targeting soap scum and mineral buildup. If not, use the hottest, longest wash setting available.
Start the empty machine and add 2 cups of vinegar to the detergent dispenser. Run the full cycle. When done, sprinkle ½ cup of baking soda into the drum and run a second hot cycle. After both cycles, wipe drum walls with a damp microfiber cloth.
Instead of vinegar and baking soda, drop one Affresh tablet into the empty drum. Run the cleaning or hottest normal cycle, then use a rinse-and-spin cycle to flush out any cleaner.
Pro Tip: If your machine has a Self-Clean or Tub Clean light, watch for when it turns on. Many Whirlpool and Samsung models trigger this light automatically after a set number of cycles to remind you it's time to clean; that's the machine telling you directly.
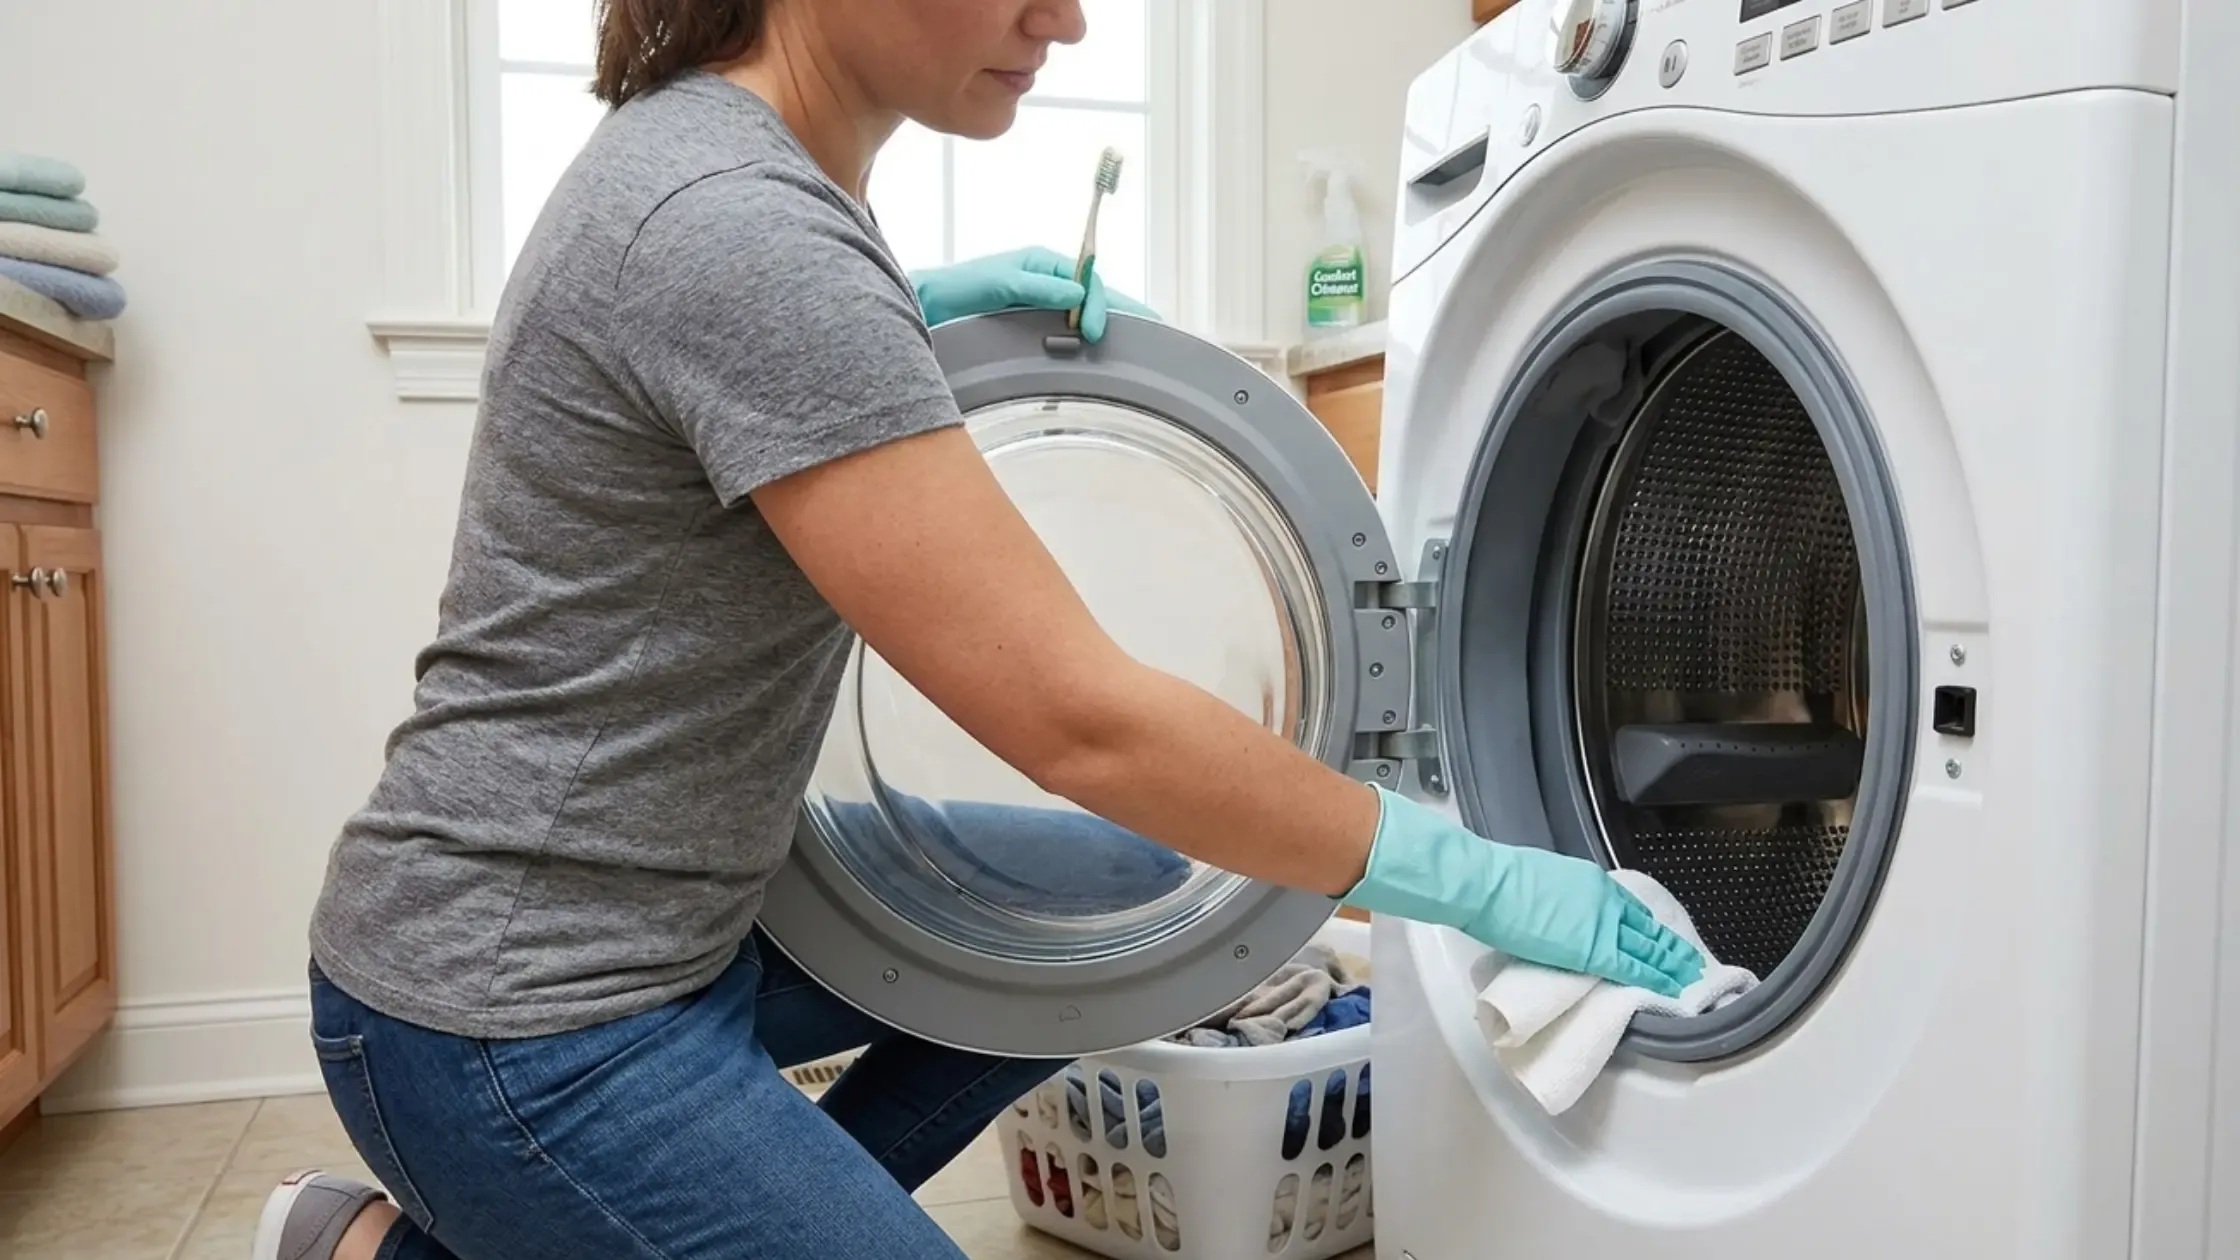
The rubber gasket sealing the front-loader door is the key area to clean—and the most neglected. In machines that have never been cleaned, pulling back the gasket folds often reveals black mold, hair, and gray soap residue.
1. Mix equal parts warm water and white vinegar in a spray bottle.
2. Pull back the rubber folds of the gasket with your fingers to expose the inner surface.
3. Spray the solution generously into all the folds and let it sit for two to three minutes.
4. Scrub thoroughly with an old toothbrush, working deep into each fold.
5. Wipe clean with a damp microfiber cloth, then dry the entire gasket completely with a second dry cloth.
Note: Some brands recommend using mild soap on rubber seals because vinegar can, over time, damage some rubber. Check your owner’s manual if you're not sure. If the rubber is still black or breaking apart, you might have to replace it.
Remove the drawer completely. Most front-loaders have a small release tab inside the drawer for full removal. Soak the drawer in warm water with a splash of white vinegar for 10 to 15 minutes. Scrub all compartments with a toothbrush, focusing on corners and the underside. Rinse, dry fully, and reinsert. While the drawer is out, use a damp cloth and toothbrush to clean the machine's drawer cavity, which collects as much residue as the drawer and is easy to reach once the drawer is removed.
This step is often skipped but crucial. The drain pump filter catches coins, lint, hair, and small debris before they reach the pump. A clogged filter restricts drainage, overworks the pump motor, and often causes persistent odors, even in regularly cleaned machines.
1. Locate the small access panel at the bottom front of the machine.
2. Place a shallow tray and a folded towel underneath before opening; trapped water will spill out.
3. Unscrew the filter counter-clockwise and pull it straight out.
4. Clear all debris by hand, then rinse the filter thoroughly under running water.
5. Screw it back in firmly to prevent leaks.
Clean the drain pump filter every 1 to 3 months, depending on how often you run the machine. If you've got pets that shed heavily or you wash a lot of towels and blankets, clean it monthly.
Use a soft, damp cloth to wipe down the exterior panels, the top surface, and the control panel. For stuck-on residue, apply a small amount of vinegar solution to the cloth. Dry with a clean cloth afterward. Use only mild cleaners on exterior surfaces; abrasive cleaners'll scratch the finish and can damage the labeling on control panels over time.
After your last load of the day, leave the door open and pull the detergent drawer out slightly so air can circulate through both. Wipe the gasket dry with a cloth before leaving it open. If you're mostly washing in cold water, run a hot water cycle with a small load of towels once a week. The heat slows down soap and soil buildup on the drum walls.
Top-loaders handle moisture differently from front-loaders, and they tend to be more forgiving, but they still accumulate buildup and benefit from the same monthly cleaning schedule. The process requires a longer soak period for best results.
If your top-loader's got a dedicated Tub Clean cycle, use it with an Affresh tablet placed directly in the drum before starting. If your machine doesn't have a cleaning cycle, set it to the hottest temperature and largest load size available.
For a natural clean, start the machine and let it begin filling. Once there's enough water in the drum, add 4 cups of white vinegar. Let the machine agitate for about 1 minute to distribute the solution, then pause the cycle and let it soak for 1 full hour. This extended soak gives the vinegar time to break down mineral deposits and soap buildup on the drum walls, agitator, and hoses, areas that a short cycle doesn't fully reach. After an hour, restart the machine and let it complete the full cycle.
For a deeper sanitizing clean on machines that support it, you can substitute 4 cups of liquid chlorine bleach for the vinegar. Fill, agitate briefly, soak for an hour, then complete the cycle. Always check your owner's manual first. Bleach isn't safe for all washer types, and you must never combine bleach and vinegar in the same cycle.
If your top-loader's got an agitator, the central post that rotates to move clothes through the water, include it in your monthly cleaning routine. Many agitators have a removable cap on top. If yours does, gently pull or twist it off and clean the inside of the post with a cloth or scrub brush to remove trapped residue and buildup. If the cap doesn't come off easily, don't force it; not all agitator caps are removable, and forcing one can break the clip mechanism inside. Check your owner's manual if you're unsure.
Pro Tip: Some newer Whirlpool top-loaders feature a 2-in-1 removable agitator that pulls out completely for easy cleaning. If your model's got this, remove it once a month and rinse it under the sink, then scrub it with a brush and mild soap.
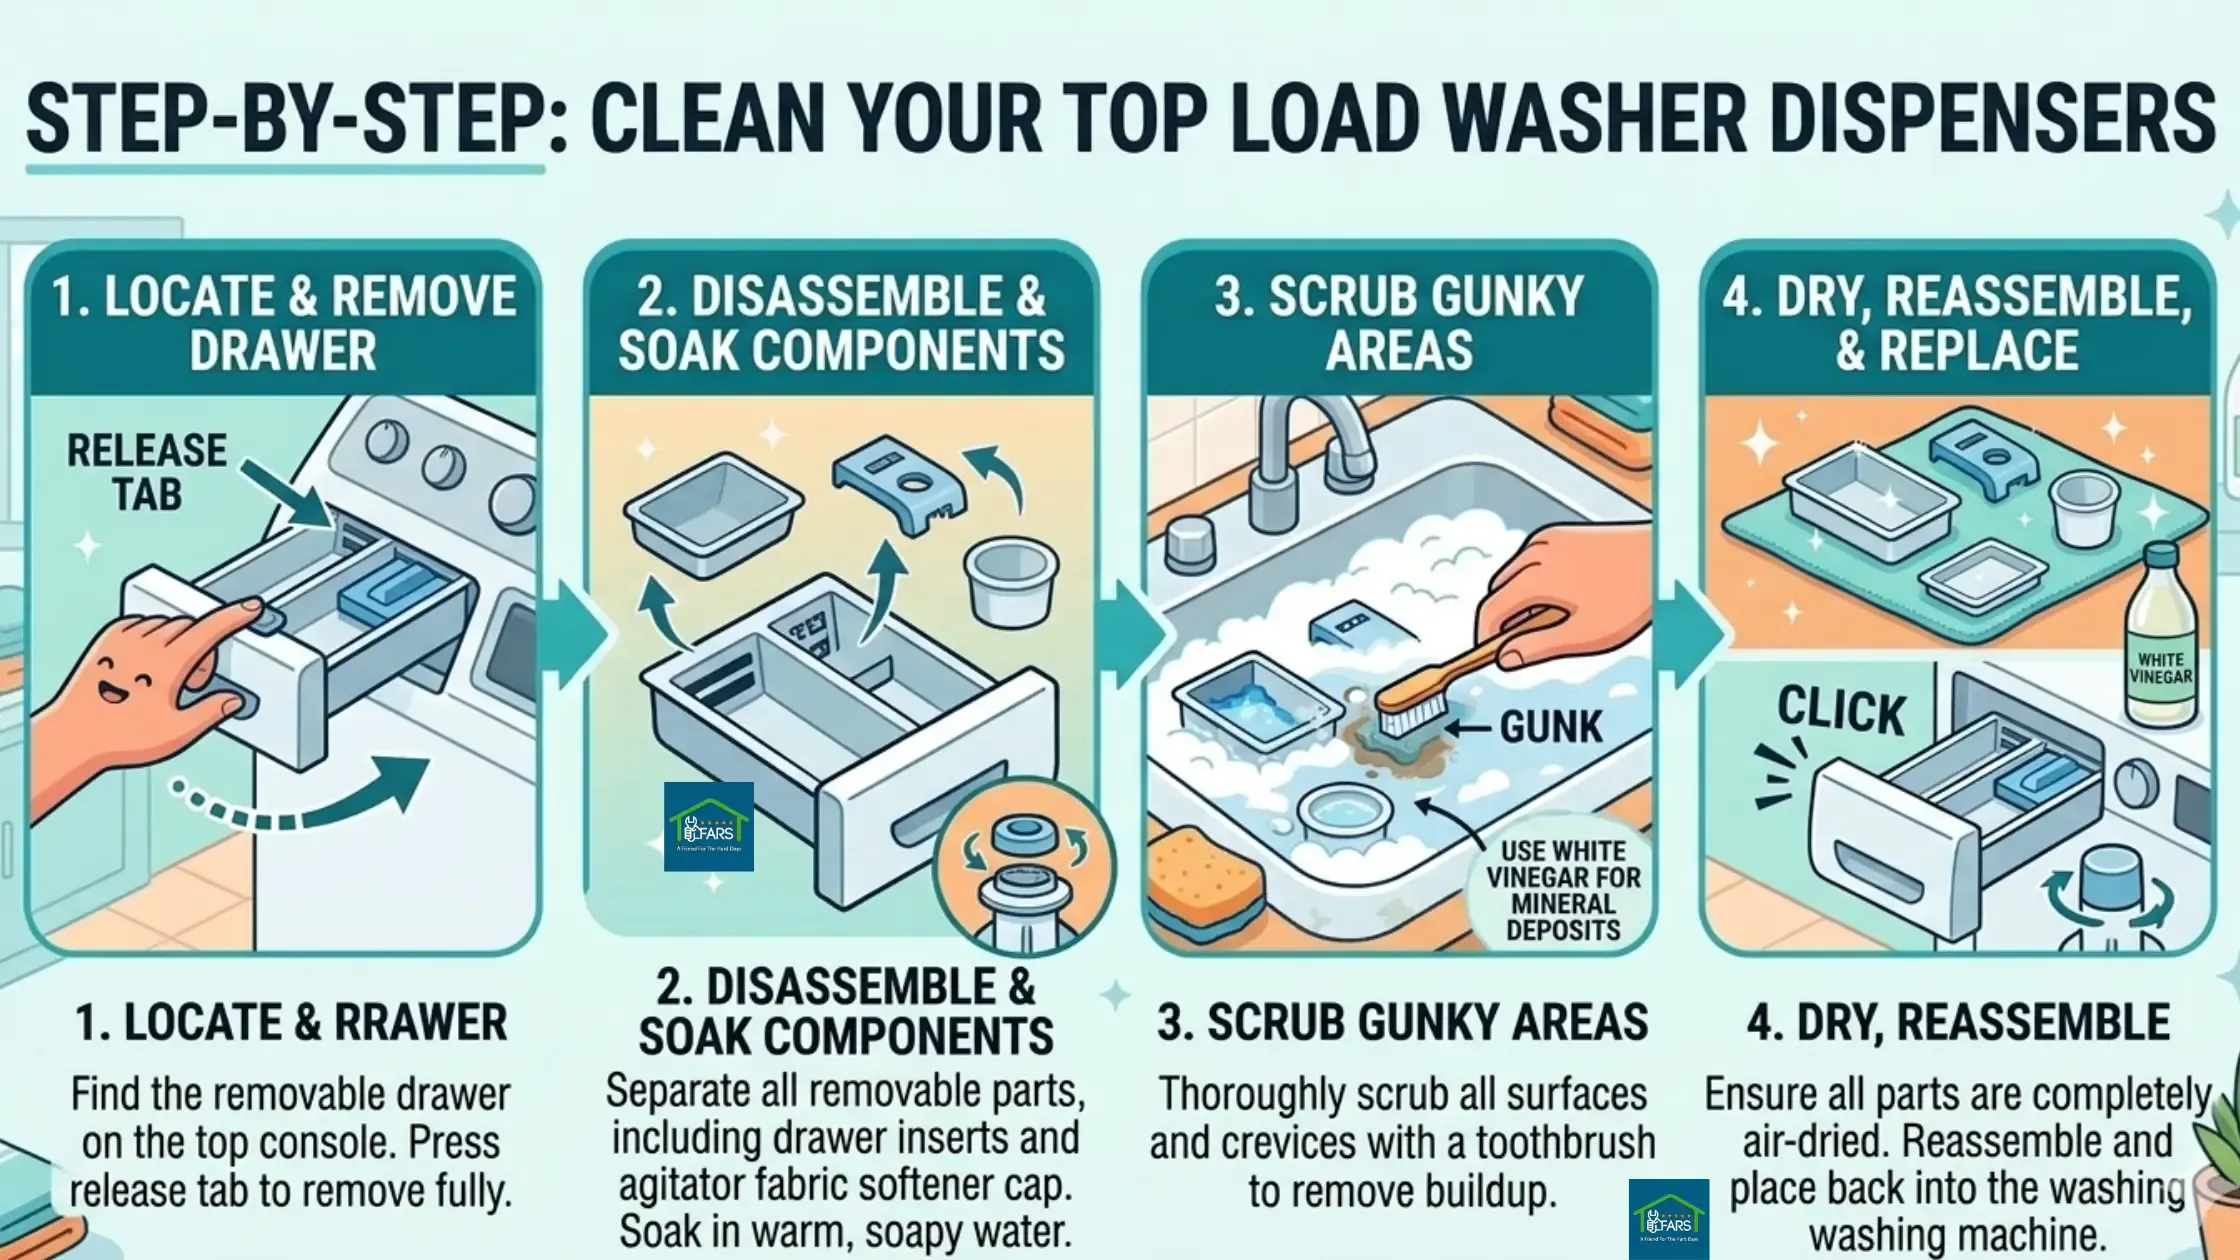
Remove the dispenser basket or tray and soak it in warm, soapy water or a vinegar-water mix for about 10 minutes. Scrub all sections with a toothbrush, rinse thoroughly, dry completely, and reinsert. Clean the cavity behind and around the dispenser with a damp cloth while the tray's out.
After the cleaning cycle's done, wipe down the inside of the drum with a damp cloth to pick up any loosened residue. Pay attention to the underside of the lid and the rim of the drum opening; these surfaces collect detergent spray and mineral deposits from splashing water, and they're easy to overlook. Dry everything with a clean cloth when you're done.
Not all top-loaders have a front-access drain filter, but many do. Check your owner's manual for the location. If your model's got one, follow the same cleaning process described in the front-loader section above.
Leave the lid open between washes to allow the drum interior to dry out. Avoid leaving wet laundry sitting in the drum after the cycle ends. Run a hot-water cycle occasionally, even if you normally wash in cold water, to help slow the buildup of soap and minerals on interior surfaces.
High-efficiency washers, whether front or top-loading, use significantly less water than standard machines, and they're more sensitive to detergent type and quantity. Always use a detergent labeled HE. Standard detergents produce far too many suds for the reduced water volume, leaving much more residue behind with every wash cycle.
Run an extra rinse cycle occasionally, especially after washing heavily soiled items or bedding, to flush out any detergent that didn't fully rinse during the standard cycle. If your HE machine's got a dedicated cleaning cycle, prioritize it over a standard hot cycle for monthly cleaning. These cycles are specifically tuned to the lower water volumes your machine uses, and they're more effective at removing the type of buildup that HE washers accumulate.
Use only the amount of detergent listed on the packaging for your load size. When in doubt, use slightly less rather than slightly more HE machines'll clean effectively with minimal detergent.
More soap doesn't mean cleaner clothes. In a high-efficiency machine, excess detergent leaves a residue that accumulates with every wash and eventually causes odors and buildup that's difficult to remove. Measure every time and follow the manufacturer's recommendation for your load size.
Cleaning the drum while leaving the gasket untouched allows mold to grow undisturbed in the folds of the seal and transfer back onto clean laundry. The gasket needs to be wiped dry after the last daily load and scrubbed thoroughly once a month.
Most homeowners've never opened the drain filter panel. This single overlooked step is responsible for a large portion of persistent odors and drainage problems that seem to have no obvious cause. Add it to your monthly routine, and the difference'll be noticeable within one or two cleanings.
Abrasive scrubbing pads, bleach spray used directly on rubber seals, and strong chemical degreasers can damage the drum finish, degrade rubber gaskets, and strip protective coatings from internal plastic components. Vinegar, baking soda, and purpose-made tablets like Affresh are effective and safe for all the surfaces they contact.
These two cleaning agents must never be used together in the same cycle. Mixing bleach and vinegar produces chlorine gas, which is harmful to breathe and damaging to the machine's internal components. If you want to use both, run a full cycle with one, then run an additional empty rinse cycle before using the other.
A tightly closed door after the last load of the day traps moisture and creates the exact conditions that mold needs to grow. It's one of the easiest habits to change and one of the most effective preventive steps you can take.
Washing machines are the workhorses of the home, but when they start acting up, it usually points to a few common culprits that a little DIY maintenance can resolve. Whether you are dealing with a mysterious funk or a machine that is trying to walk out of the laundry room, most of these issues are manageable with a bit of tactical troubleshooting.
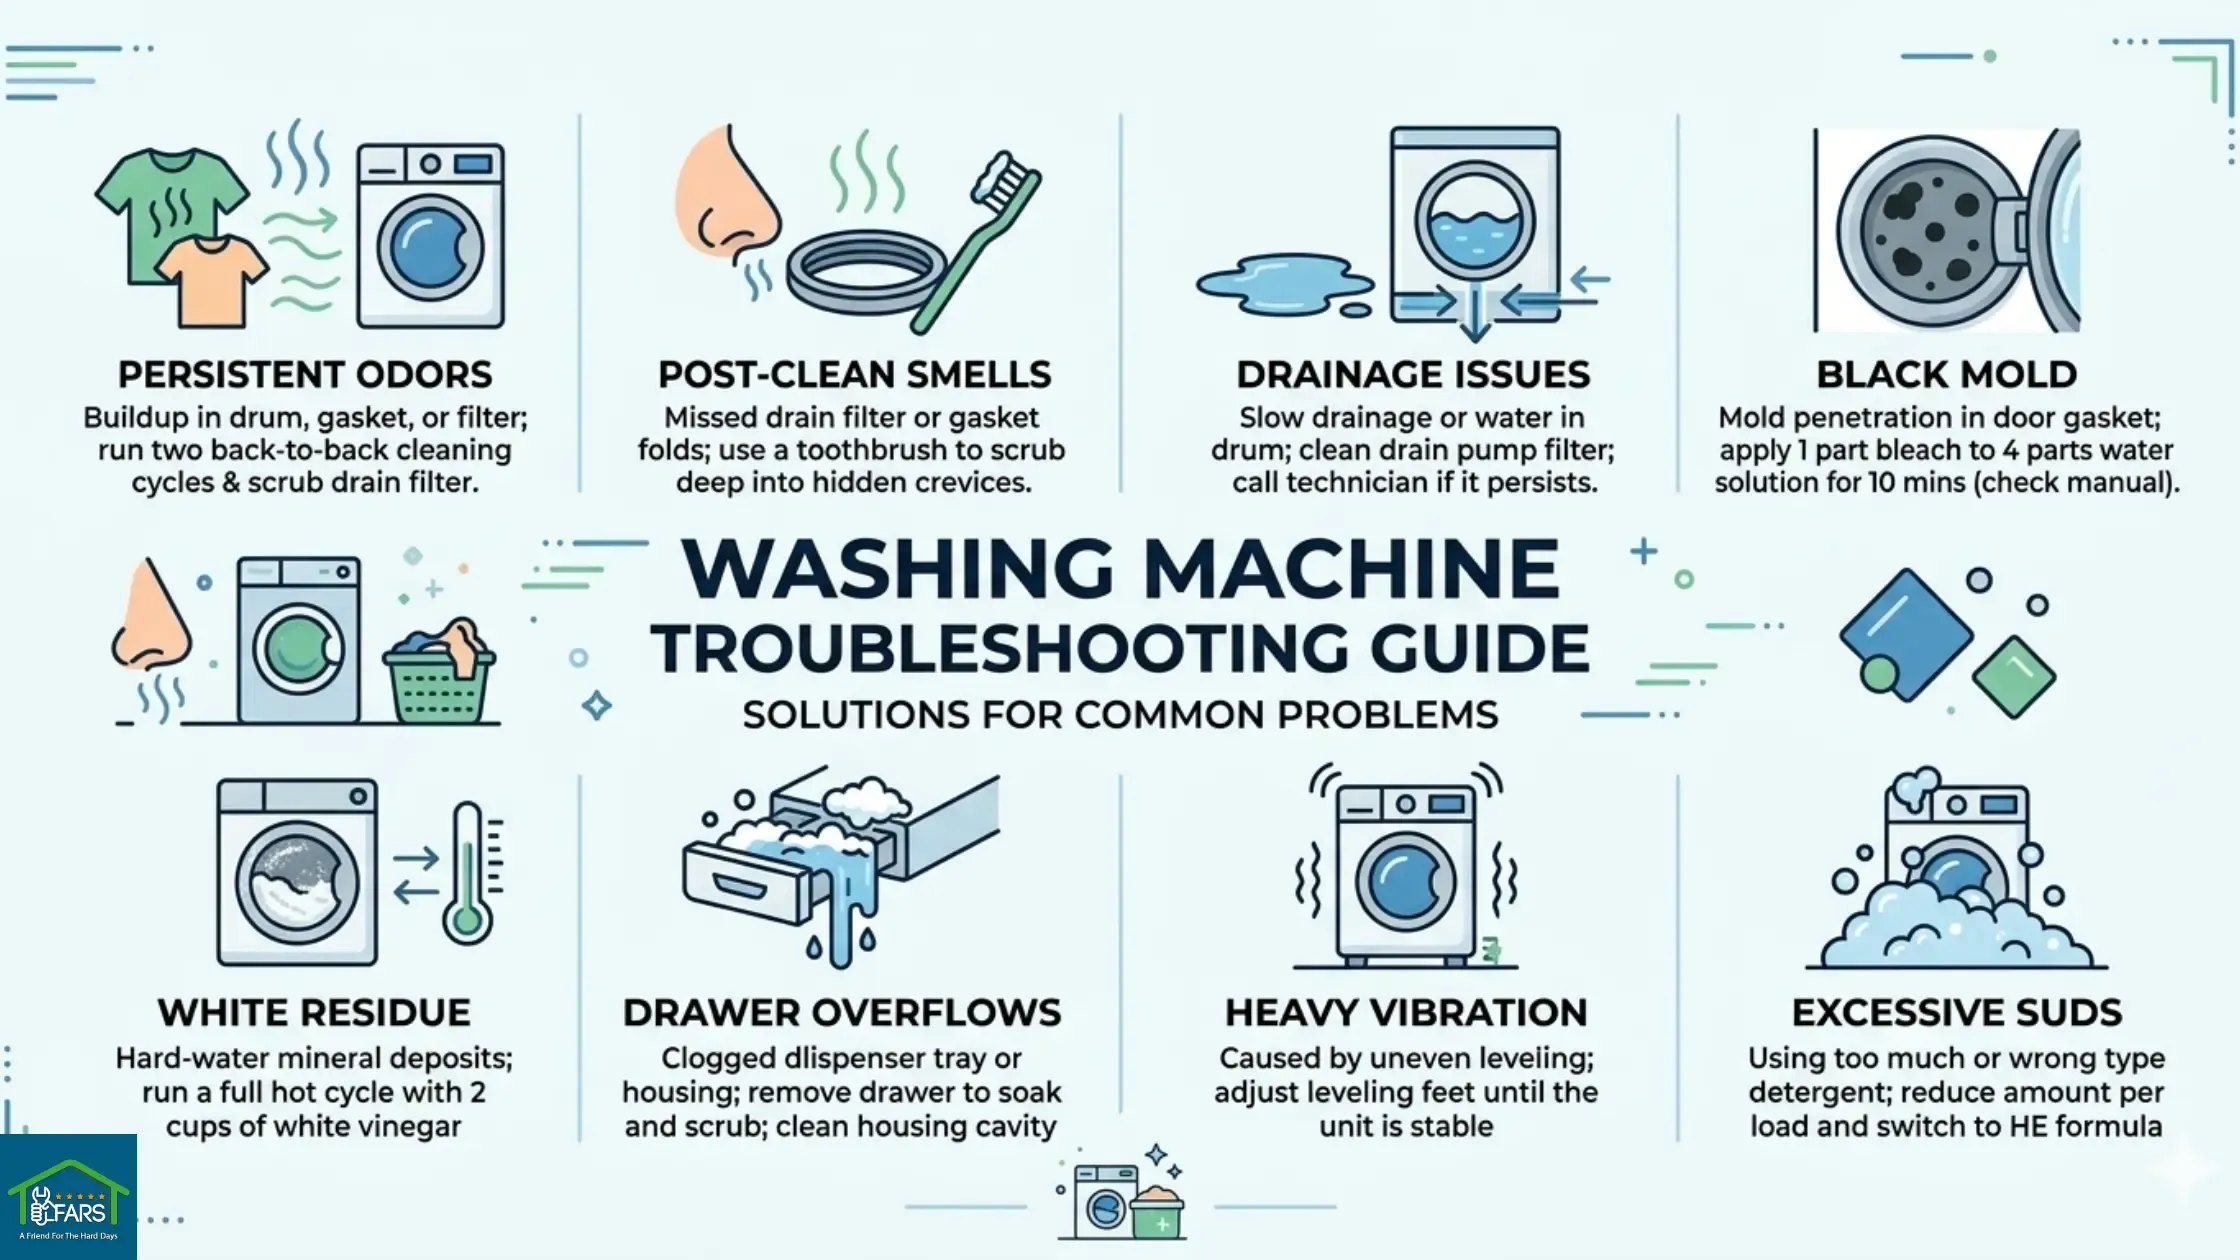
· Persistent Odors: If clothes still smell after washing, it's likely due to buildup in the drum, gasket, or filter; try running two back-to-back cleaning cycles and thoroughly scrubbing the drain filter.
· Post-Clean Smells: A bad smell immediately after a cleaning session suggests the drain filter or gasket folds were missed; use a toothbrush to scrub deep into those hidden crevices where gunk hides.
· Drainage Issues: Slow drainage or water left in the drum usually indicates a clogged drain pump filter; clean the filter, but call a technician if the problem persists after manual clearing.
· Black Mold: For mold penetration in the door gasket, apply a solution of 1 part bleach to 4 parts water and leave it for 10 minutes; check your manual first to ensure the rubber is bleach-safe.
· White Residue: Hard-water mineral deposits on the drum walls can be removed by running a full hot cycle with 2 cups of white vinegar; repeat the process if the buildup is particularly heavy.
· Drawer Overflows: A clogged dispenser tray or housing is often the cause of overflows; remove the drawer to soak and scrub it, and don't forget to clean the housing cavity where the water enters.
· Heavy Vibration: Excessive shaking is almost always caused by uneven leveling; check the machine front-to-back and side-to-side, then adjust the leveling feet until the unit is stable.
· Excessive Suds: If you see a mountain of bubbles, you are likely using too much detergent or the wrong type; reduce the amount per load and switch to an HE formula if required.
Monthly DIY cleaning with vinegar, baking soda, or commercial tablets effectively handles surface buildup and odors, and provides basic maintenance. The cost is typically minimal, $5 to $10 in supplies per session, and the process takes about an hour of mostly unattended machine time.
Professional washing machine cleaning makes the most sense in the following situations: odors persist despite three or more consistent monthly cleanings; drainage's slow even after the filter's been cleared; visible limescale has built up on the drum walls or door glass; or you want a technician to inspect hoses, pump components, and internal seals for early signs of wear that're difficult to assess from the outside.
In Roseville and the surrounding Sacramento area, professional washing machine cleaning and inspection typically costs between $50 and $100. This service pays for itself when it catches a worn hose or a failing pump seal before it causes a water leak that'll damage your flooring or cabinetry.
Roseville's got a strong community commitment to sustainability, and your laundry room routine can support it. White vinegar and baking soda are biodegradable, non-toxic, and safe for the local water supply. They'll clean just as effectively as most commercial products for routine monthly maintenance, and they cost far less per cleaning session.
If you'd prefer a commercial product, look for phosphate-free and biodegradable washing machine cleaners. Brands like Affresh are formulated to be safe for septic systems, which is relevant for many homes in outlying Sacramento area communities. Avoid cleaners with artificial fragrances if anyone in your household has allergies or sensitivities. Plain vinegar and baking soda are naturally fragrance-free.
Establishing a consistent maintenance routine is the most effective way to prevent costly repairs and ensure your washing machine remains hygienic over its lifespan. By breaking these tasks down into manageable daily, weekly, and monthly habits, you can stop mold growth and mechanical wear before they impact your laundry quality or machine performance.
· After Every Wash: To prevent musty odors, move clothes to the dryer promptly and leave both the door and the detergent drawer open to allow the interior to air dry completely.
· Weekly: Wipe the door gasket dry and perform a quick check for early mold formation within the rubber folds.
· Every 2 Weeks: Completely remove the detergent dispenser drawer to rinse away any residual soap or fabric softener buildup.
· Monthly: Run a dedicated drum cleaning cycle, scrub the door gasket, and clean the drain pump filter. This is also the best time to wipe down the exterior of the unit to prevent dust and grime accumulation.
· Every 6 Months: Inspect the water supply hoses at the back of the machine for any signs of cracking, bulging, or wear, and replace them if the integrity of the material is compromised.
· Every 12–18 Months: Schedule a professional cleaning and a full system inspection to address internal limescale and mechanical components, which are especially critical for households in hard-water areas.
A clean washing machine means fresher laundry, lower energy bills, and fewer unexpected repair calls. For Roseville and Sacramento area homeowners dealing with hard water and hot summers, monthly cleaning isn't optional; it's the difference between an appliance that runs efficiently for 12 years and one that breaks down at year six.
For routine monthly maintenance, vinegar, baking soda, and the steps for the drain filter in this guide will handle most of what your machine needs. For deep descaling, persistent odors, drainage problems that cleaning doesn't resolve, or any sign of leaks or unusual noises, Fair Appliance Repair Service is ready to help. We serve Roseville and the greater Sacramento area with same-day and next-day appointments, certified technicians, transparent pricing, and a service warranty on every repair.
Call us at 916-333-8388 or book your appointment online. We solve all issues of washing machines along with installation of washers and dryers altogather.
Clean it once a month or after every 30 wash cycles, whichever comes first. In households with heavy laundry loads, pets, or young children, every three weeks is a better target. Roseville's hot climate and hard water mean that skipping cleanings will cause problems more quickly than in a cooler, softer-water area.
Yes, for top-loaders that support it. Bleach's effective for deep sanitizing, but it's not safe for all machine types and must never be mixed with vinegar. Always check your owner's manual before using bleach. After a bleach cycle, run an additional empty rinse cycle to remove any residual bleach before running a regular load.
Persistent odors almost always come from the drain pump filter or the deep folds of the door gasket areas that a standard drum cleaning cycle doesn't reach. Clean the drain filter thoroughly and scrub deep into every gasket fold with a toothbrush. If the smell continues after three consistent monthly cleanings, call a professional. The odor may be coming from the drain hose or pump housing, which will require a technician to access.
Yes, particularly in hard water areas like Roseville. Professional technicians use descaling equipment and can inspect internal components that aren't visible or accessible during DIY cleaning, such as hoses, bearings, pump seals, and electrical connections. Catching a worn hose before it fails prevents water damage that'll cost far more than the service call.
Leave the door and detergent drawer open after every wash. Wipe the gasket dry after your last load of the day. Run a hot cleaning cycle with vinegar once a month. These three habits together eliminate the conditions that mold needs to grow, and they'll keep a front-loader mold-free indefinitely with consistent practice.
Yes. When the buildup in the dispenser tray restricts water flow, water can back up and overflow the drawer housing during the fill cycle. Removing and cleaning the dispenser tray every two weeks will prevent this from happening.
It does, and it accelerates wear in ways that aren't always obvious. Calcium and magnesium deposits build up on the drum walls, heating element, and water inlet valve over time. This reduces heating efficiency, slows water flow, and shortens the machine's lifespan. Monthly vinegar cycles help manage this significantly, and professional descaling once a year keeps hard-water effects under control in Placer County and Sacramento-area homes.


