Blog

How to Install a Washer and Dryer: Complete Guide
You’ve just bought a new washer and dryer. Now they’re still in their boxes. You’re staring at hoses, power cords, and vent ducts, unsure where to begin. The good news is that installing a washer and dryer is usually easier than it looks. If your hookups are already in place, you can likely do it yourself. Just remember, some safety steps are essential.
This guide will take you through each step to install a washer and dryer, from measuring your space to running your first load. You’ll learn what tools you need, how much time to set aside, and when it’s best to call for professional assistance.
What You'll Learn
• Complete step-by-step installation for washers and dryers.
• Tools, materials, and time needed.
• Safety steps and local rules.
• Sacramento-specific problems (hard water, heat, power surges).
• Installation costs and when to hire a pro.
Steps You Should Consider Before Install a Washer and Dryer
Preparation and Planning
Before opening any boxes, check your space and make sure you have everything you need.
Measure Your Space
Measure the path from your door to the laundry area. Check the width of doorways and hallways to ensure your new appliances fit through easily.
In the laundry room:
• Measure the width and depth of your laundry space.
• Leave 6 inches behind each unit for hoses and vents.
• Keep 1 inch between units if they’re side by side.
• Make sure the floor is level, especially for washers.
Front-load washers are usually 27 to 29 inches wide and 30 to 34 inches deep. Top-loaders are about the same size but need extra space above to open the lid. Dryers are similar in size.
Tools and Supplies You'll Need
You’ll need a few basic tools for most installations:
• Adjustable pliers or wrench.
• Level (24-inch or longer works best).
• Utility knife.
• Screwdriver.
• Metal clamps for dryer vent.
Check which materials came with your appliances. You may need:
• Water supply hoses (braided stainless steel recommended).
• Drain hose (usually included with washer).
• Dryer vent duct (rigid metal preferred).
• Power cord for dryer (often sold separately).
• Y-connector if dryer has a steam feature.
Sacramento’s hard water can quickly wear out rubber hoses. It’s worth spending an extra $20-30 on braided stainless steel water hoses because they last longer and are less likely to break.
Check Building Codes and Permits
If you’re only swapping out old units and the hookups are already there, you usually won’t need any permits.
You might need permits for:
• New plumbing or electrical circuits.
• Gas line installation or modifications.
• Moving laundry to a new location.
• Upper-floor installations in condos or apartments.
If you live in an apartment or condo, check your building’s rules. Some places don’t allow washers on upper floors due to the risk of leaks.
Remove Old Appliances Safely
If you're replacing old units, disconnect them first:
• Unplug from the wall.
• Turn off water supply valves.
• Disconnect hoses (have towels ready for drips).
• For gas dryers, turn off the gas valve and call a pro to disconnect.
After disconnecting, move the old units away from the wall. Look for any water damage, mold, or loose connections that should be fixed before you install the new appliances.
Location and Layout Tips
Best Locations for Washer and Dryer
Ideal spots include:
• Dedicated laundry room (easiest option).
• Laundry closet with vented doors.
• Garage or basement (use a pedestal if on concrete).
• Near kitchen or bathroom (easier plumbing access).
Try not to put washers and dryers in bedrooms or quiet spaces. They can be noisy and vibrate a lot, especially during the spin cycle.
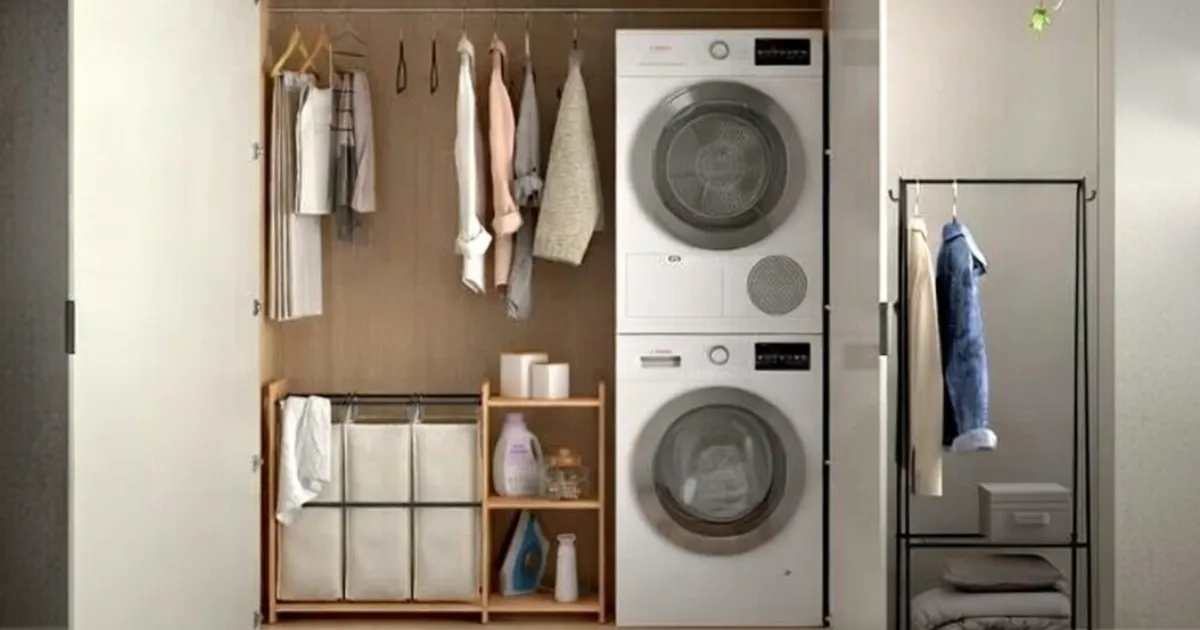
Stacking Options
If you’re short on space, you can stack front-load washers and dryers. This requires a stacking kit made for your specific brand and model.
Important rules for stacking:
• Only front-load models stack safely.
• Washer always goes on the bottom (heavier).
• Use brand-specific stacking kits ($50-150).
• Never stack top-load washers.
Special Hookup Scenarios
Sink connection: If you don’t have laundry valves, you can install to a utility sink with an aerator adapter. Turn the water on before each load and off when you’re done. This isn’t a great long-term solution, but it works for temporary setups.
Pedestals: Raising front-load washers by 12-16 inches makes loading easier and gives you storage space underneath. Each pedestal usually costs $200- $ 300.
Drain pans: If your washer is on an upper floor, use a drain pan underneath. It will catch leaks and can connect to a floor drain to help prevent water damage below.
How to Install a Washer
Step 1: Prep the Machine
Remove all packaging materials, tape, and protective foam. Check inside the drum too.
Important for front-loaders: Take out the shipping bolts from the back. These 3-4 large bolts keep the drum secure during transport. If you run the washer with them still in, it will damage the suspension system right away. Keep the bolts in case you move again.
Free up the power cord and drain hose if they're tied to the back.
Step 2: Position and Level the Washer
Place the washer in position, leaving about 2 feet of workspace behind it. Leveling is crucial. A washer that is not level shakes a lot during spin cycles, moves across the floor, and can break inside parts over time.
How to level:
• Put a level on top of the washer, front to back.
• The bubble should be centered.
• Adjust the front feet by turning them clockwise to raise or counterclockwise to lower.
• Check side to side and adjust again.
• Tighten the lock nuts on the feet so they stay in place.
If the washer is not leveled properly, the washer will off balance, it will cause several issues. You can learn more the causes and solutions.
Step 3: Connect Water Supply Hoses
Look at the back of your washer. You'll see two threaded inlets marked Hot and Cold. Before connecting hoses, flush the water lines. Turn on each wall valve briefly to clear debris, then shut them off.
Connection steps:
• Check that rubber washers are inside each hose end.
• Screw the cold water hose onto the cold inlet on the washer.
• Hand-tighten, then add 2/3 turn with wrench (don't overtighten).
• Connect other end to cold water valve on the wall.
• Repeat the process for the hot water hose.
Most machines use red for hot and blue for cold, but always double-check the labels to be sure.
Step 4: Install the Drain Hose
The drain hose carries dirty water out. It's usually gray or black and comes attached to the washer. Find your standpipe (vertical pipe from the wall) or floor drain. Standpipes should be 30-36 inches tall.
Installation:
• Put the curved end of the drain hose into the standpipe.
• Push it down 4 to 4.5 inches—deep enough to stay, but not so deep it causes suction.
• Secure it with a clip or plastic tie if you have one.
• Don’t seal the hose into the pipe; it needs some air space to drain properly.
Step 5: Test and Check for Leaks
Slowly open both water valves by turning counterclockwise. Check every connection for drips. If you see water, close the valves and tighten the fitting there. Once everything is dry, plug the washer in. Move it into its final spot, leaving 4 to 6 inches from the wall so the hoses don’t get kinked. Run a test cycle without any clothes. Let it fill, wash, and drain completely. Check underneath and behind for leaks, and listen for any strange noises.
How to Install a Dryer
Dryer installation depends on your power source, it is one of the beginner problems of washing machine installation. We'll cover both electric and gas.
Electric Dryer Installation
Electric dryers require a 240-volt outlet with three or four large prongs. This is not the same as a regular 120-volt outlet.
Step 1: Attach the Power Cord
Many dryers don't include power cords. Buy one that matches your outlet:
• 3-prong outlet: Buy 3-wire cord ($25-35).
• 4-prong outlet: Buy 4-wire cord ($25-35) — standard in newer homes.
Installing the cord:
• Remove the electrical panel on the dryer back (usually one screw).
• Feed the cord through the opening.
• Connect wires: Green/bare copper = ground, white = neutral (center), black and red = hot (outer terminals).
• Tighten all connections firmly.
• Replace cover panel.
Safety note: If you’re not comfortable working with electrical wiring, stop and call a professional. Incorrect wiring can cause fires or electric shock.
Gas Dryer Installation
If you haven’t worked with gas lines before, call a professional. Gas leaks can lead to explosions or carbon monoxide poisoning. In California, a licensed pro is often required for gas appliance installation.
If you have experience:
• Make sure gas valve is completely off.
• Connect flexible gas line from wall valve to dryer inlet.
• Use yellow gas-rated thread sealant (not white plumber's tape).
• Hand-tighten, then add quarter turn with wrench.
• Open valve slowly and check for leaks with soapy water (bubbles = leak).
• Install a carbon monoxide alarm nearby.
Step 2: Install the Dryer Vent (Critical for Safety)
The dryer vent removes hot, moist air and lint. If it gets clogged, it can cause house fires—about 15,000 each year in the United States.
California code requirements:
• Must exhaust outside (not into attics or crawl spaces).
• Maximum 25 feet total length (subtract 2.5 feet per 90-degree turn).
• No screws inside the duct (lint catches on them).
• Exterior vent hood 12 inches off the ground minimum.
Installation Steps:
• Slide vent duct over exhaust port on dryer back.
• Secure with metal clamp (tighten screw, so it can't pull off).
• Connect other end to wall vent opening.
• Use foil tape on joints (no screws).
• Keep duct as short and straight as possible.
Sacramento climate note: Hot, dry summers mean more dust and lint. Clean your dryer vent every 6 months, not yearly.
Step 3: Level the Dryer
Just like with the washer, your dryer needs to be level. Adjust the front feet until the bubble is centered on your level, both front-to-back and side-to-side.
Step 4: Test the Dryer
Plug in the dryer (or ensure gas is on). Run it empty on high heat for 10 minutes.
You need to check:
•If Warm air is coming from the vent.
• The dryer should get warm, but not extremely hot.
• Listen for any grinding, squealing, or banging sounds; these are signs of problems.
Advanced Accessories and Safety
When to Replace Hoses and Vents
Replace your water hoses every five years, even if they look okay. Rubber breaks down over time. Braided stainless steel hoses last longer, but you should still check them regularly. Never use garden hoses or any hoses not made for appliances. They can’t handle the pressure and may burst.
Drain Pans and Ventless Dryers
Drain pans: Required for washer installations on upper floors in many buildings. These catch leaks and prevent water damage to units below. Connect the pan drain to the floor drain if available.
Ventless dryers: Condenser or heat-pump dryers don’t require an outside vent. They’re a good option for apartments without vent access. They cost more upfront but work in tight spaces.
Electrical Requirements
• Washers need dedicated 120V,
20-amp circuits.
• Electric dryers need 240V, 30-amp circuits.
• Never use extension cords with appliances.
• Consider AFCI breakers for fire protection.
Testing After Installation
Run a complete test cycle for the washer with a small load. Check for:
• Leaks at connections during fill and drain.
• Proper water temperature (hot should be hot).
• Complete drainage (no standing water).
• Excessive vibration or walking.
For dryers, run an empty cycle on high heat. Check that it heats up properly and make sure you feel airflow at the outside vent.
DIY Time Requirements
• With existing hookups: 1-2 hours for both appliances.
• First-time installers: 3-4 hours.
• New water/electrical lines: 3-5 days (requires licensed contractors).
When to Call a Professional
Always hire licensed help for:
• Gas dryer installation (unless you have experience).
• New electrical circuits or panel upgrades.
• New plumbing lines or modifications.
• Stacking installations without experience.
• Apartment/condo installations with building restrictions.
• Any situation where you're not confident.
Maintenance and Troubleshooting
Post-Installation Maintenance
Monthly:
• Check hoses for cracks or bulges.
• Clean washer door seal. If not clean it will cause door not closing issue. You need to fix the issue immediatly.
• Empty dryer lint trap after every load.
Every 3-6 months:
• Clean dryer vent completely (more often in Sacramento).
• Run washer cleaning cycle (hard water causes buildup).
• Check exterior vent flap opens when dryer runs.
Yearly:
• Replace rubber washing machine hoses.
• Have a professional check gas connections.
• Inspect the drain pump filter.
• Recheck leveling (vibration can shift feet over time).
Common Issues After Installation
Washer won't fill:
• Check water valves are fully open.
• Look for kinked hoses.
• Clean inlet screens (unscrew hoses from machine).
Dryer won't heat:
• Verify plug is fully inserted (240V outlets are tight).
• Check both breakers are on (dryers use two).
• For gas: ensure valve is fully open.
Water leaking from the washer:
•Tighten hose connections.
•Check the door seal for damage.
•Verify the drain hose is properly positioned.
Dryer running but not drying:
•Clean lint trap.
•Check outside vent for airflow.
•Make surethe vent hose isn't crushed.
•Verify vent length meets code (under 25 feet).
Excessive vibration:
•Recheck leveling with a level.
•Confirm shipping bolts were removed (front-loaders).
•Don't overload the washer.
You can install a washer and dryer yourself if you have basic tools and the hookups are already there. Take your time, follow each step, and always do the safety checks.
DIY Makes Sense When
• Water valves and electrical outlets already exist.
• You're installing an electric dryer.
• You're comfortable with basic plumbing and electrical work.
• You have 2-4 hours to dedicate to the project.
Call a Professional When
• Installing gas appliances (unless experienced).
• Creating new electrical circuits or plumbing lines.
• Dealing with building codes and permits.
• You're unsure about any step.
Get Professional Washer and Dryer Installation in Sacramento
Fair Appliance Repair Service handles washer and dryer installations throughout Sacramento, Roseville, Elk Grove, and surrounding areas. Our licensed technicians bring all the right tools and parts, and we guarantee our work.
✓ Same-Day & Emergency Service — We know you need your laundry working.
✓ Licensed & Certified Technicians — Factory-trained on all major brands.
✓ Upfront Pricing — No hidden fees, you know the cost before we start.
✓ Best Warranty — 90-365 day parts warranty, 90-day labor guarantee.
We also handle repairs when something goes wrong with existing appliances. Whether you need installation, maintenance, or emergency repair, we're here to help.
Call now: +1 916-333-8388 or Schedule Online Today!
Frequently Asked Questions
Q1: How do I install a washer and dryer?
Connect water supply lines, vent the dryer, and wire the electrical outlet.
Q2. Can I install a gas dryer myself?
Not recommended—gas leaks risk explosion or CO poisoning; hire a licensed pro, required in California for safety and compliance.
Q3. How do I level my washer to stop vibration?
Place level on top, adjust front feet clockwise to raise/counterclockwise to lower until bubble centers front-to-back and side-to-side; tighten lock nuts.
Q4. What's the best dryer vent material and length?
Rigid metal duct, max 25 feet (subtract 2.5 ft per 90° turn); exhaust outside with hood 12" off ground—no plastic/foil.
Q5. How often should I replace washer hoses in hard water areas like Sacramento?
Every 5 years (sooner for rubber); use braided stainless steel to resist mineral buildup and bursting.


