Our Articles
Blog

Published on September 15, 2024
Let’s face it: your dishwasher is the unsung hero of your kitchen. It battles scalding water, heavy grease, and baked-on food day in and day out, usually without a single complaint. But when it suddenly faces dishwasher problems, the panic sets in. Are you looking at a quick two-minute DIY fix, or is it time to call in the pros?
This guide cuts through the confusion. We’ve rounded up the top questions homeowners ask us and organized 10 signs your dishwasher needs repair urgently, so you can jump directly to the problem you're facing right now. No confusing technical jargon, no guesswork, just straightforward, honest advice from the appliance experts who fix dishwashers every single day.
‣The most common dishwasher Problems.
‣Why do they happen.
‣DIY Fixes Steps.
‣Repair vs. Replace: The 50% Rule.
‣Error Codes and Reset Guide.
‣How long should dishwasher lasts?
‣When to Call a Professional.
‣Final Verdict
Here is a straightforward rundown of the signs that a dishwasher is failing and needs repair. Most of these begin as small, easy-to-fix problems. The longer they go unaddressed, the more likely a simple repair becomes a bigger one.
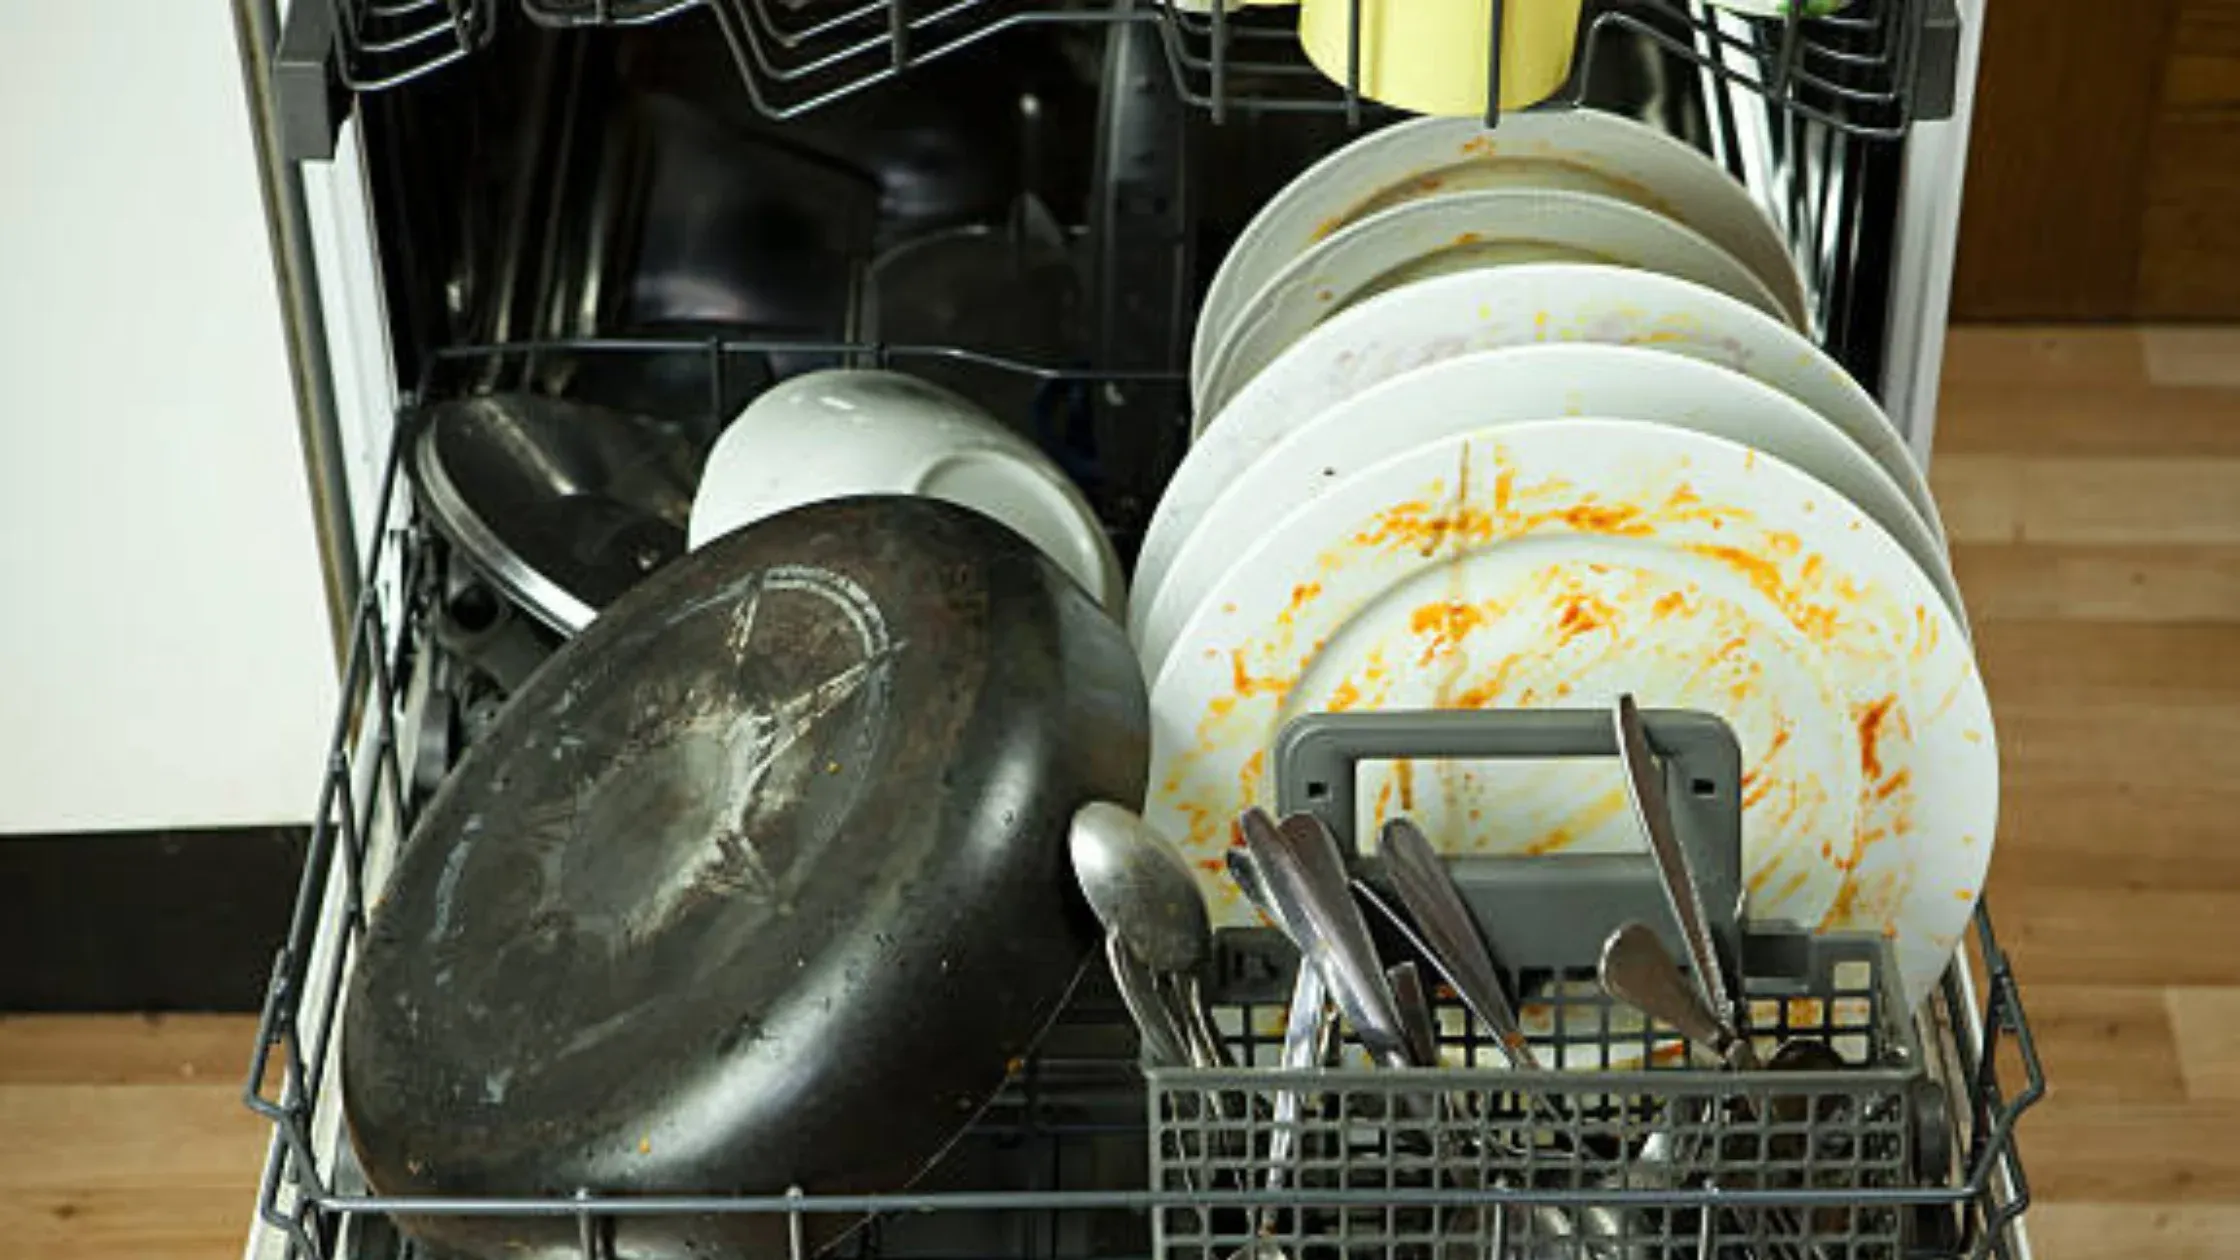
It is incredibly frustrating when an appliance designed to clean leaves food remnants behind.
● The filter is clogged.
● Spray arms are blocked.
● Loading is blocking water flow.
● Detergent dispenser not opening.
● Water temperature is too low.
● Wrong or degraded detergent.
● Reduced pressure prevents detergent activation.
● Low heat prevents grease breakdown.
● Chronic restriction strains the circulatory system.
This single step resolves the majority of complaints about poor cleaning. The cylindrical filter at the bottom of the tub captures food debris. When it is full, dirty water recirculates instead of clean water doing the work. Twist it out, rinse under hot running water, scrub with a soft brush, and reinstall. If you see white crust, soak it in white vinegar for 15 minutes first.
Remove them (pull straight up or quarter-turn depending on your model), hold them under running water, and use a toothpick to clear every jet hole. For mineral scale, soak in white vinegar for 20 minutes.
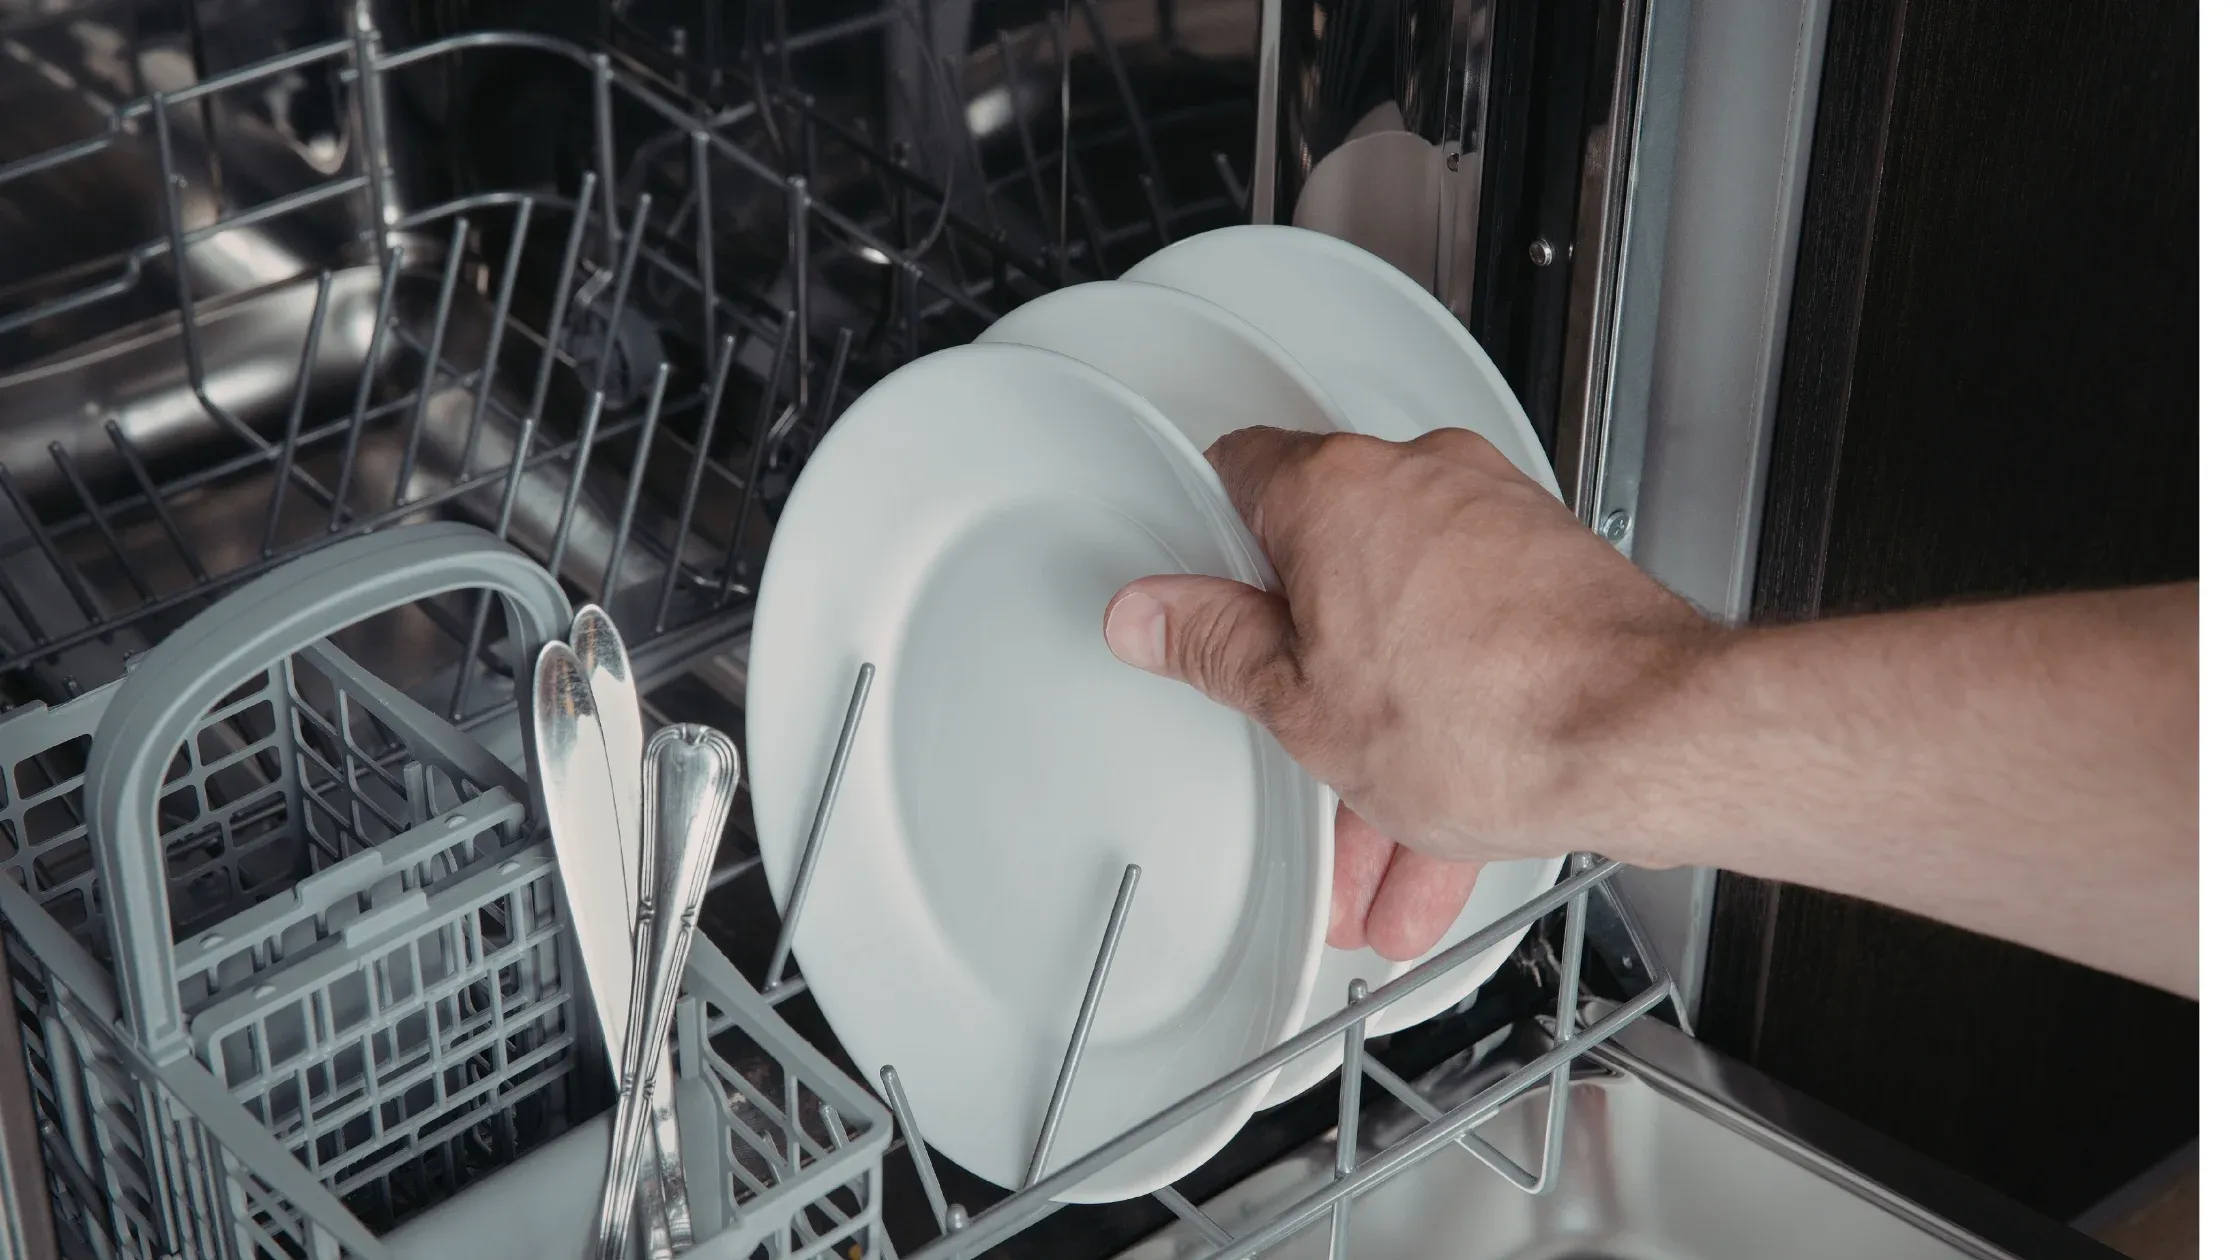
Dirty surfaces should face the center of the machine. Do not nest bowls or stack plates with no gap. Tall items should not block the detergent dispenser from swinging open.
Let the kitchen sink run on full hot for one minute before starting the dishwasher. This flushes cold water from the supply line, so the machine fills with genuinely hot water from the moment it starts.
After the cycle, verify that the dispenser door opened and that the detergent dissolved. If undissolved detergent is still sitting in the cup, the dispenser spring may be broken, or a tall item is blocking it.
If cleaning doesn’t improve after filter cleaning and spray arm clearing, internal pump wear is likely.
● If dishes come out looking like they got a rinse rather than a proper wash, the most likely causes are the filter, the spray arms, and how the machine was loaded. Those three account for the majority of cases.
● If you have already cleaned the filter and spray arms and the problem continues, check these next:
● Is the detergent dispenser opening? Open the door mid-cycle briefly and check whether the dispenser door has swung open.
● Is the water getting hot enough? Run the hot kitchen tap for one full minute before starting the machine.
● Are dishes being reached by water? Reload with more space between items and run the cycle again.
● Is the wash pump running? If you hear a hum but no water sounds during the wash cycle, the pump may be weakening.
● If cleaning stays poor after working through these steps, a technician can check the water inlet valve, pump pressure, and internal water temperature. These are things a home check cannot easily reach.
Finding a pool of stagnant water at the bottom of your tub is a clear sign of a drainage failure. If left unchecked, this standing water becomes a breeding ground for bacteria.
● The filter is packed with debris.
● Kinked or clogged drain hose.
● Blocked garbage disposal inlet.
● Failing drain pump.
● Standing water breeds bacteria.
● Drain pump strain increases.
● Odors develop rapidly.
Start here every time. A filter packed with food debris physically blocks water from passing through to the drain. In many cases, a thorough filter cleaning is all it takes to restore drainage. Remove it, rinse under hot running water, scrub any clogged areas, and reinstall. Run a short cycle and check if water drains normally.
Open the cabinet under the sink and trace the drain hose from the back of the dishwasher to where it connects to either the drain or the garbage disposal. Look for any kinks, sharp bends, or sections that are pinched by something pushed against them. Straighten anything that looks wrong.
Also, check that the hose makes a high loop up under the counter before connecting to the drain outlet. This loop, also called an air-gap loop, prevents dirty sink-drain water from flowing back into the dishwasher. If this loop is missing or was removed during an earlier repair, it can affect drainage performance.
If your drain hose connects to the garbage disposal, run the disposal for 30 seconds before starting a dishwasher cycle. A clogged or full disposal creates a backup that prevents the dishwasher from draining properly.
If the disposal was recently installed or replaced, check whether the knockout plug in the dishwasher inlet port was removed. New disposals ship from the factory with a plastic plug in this port.
If the installer forgot to remove it, the dishwasher physically cannot drain at all. This is a surprisingly common oversight after disposal replacement.
If your kitchen has a small chrome cylinder mounted on the countertop near the faucet, that is an air gap device. Its job is to prevent dirty drain water from flowing back into the dishwasher. When it gets clogged with debris, it restricts drainage. Pop the cap off, look inside for any blockage, and clean it out if needed.
If you have worked through all of the above and the water still is not draining, the drain pump may be failing. A pump that is starting to go sometimes makes a humming sound without producing any water movement, or it may make no sound at all. This requires a technician.
The pump itself is not complicated to replace, but accessing it requires pulling the machine away from the cabinet and working inside the base.
If clearing the filter and hose doesn’t fix it, the drain pump motor may be failing. You can follow a clear diagnostic path. Work through these steps in order.
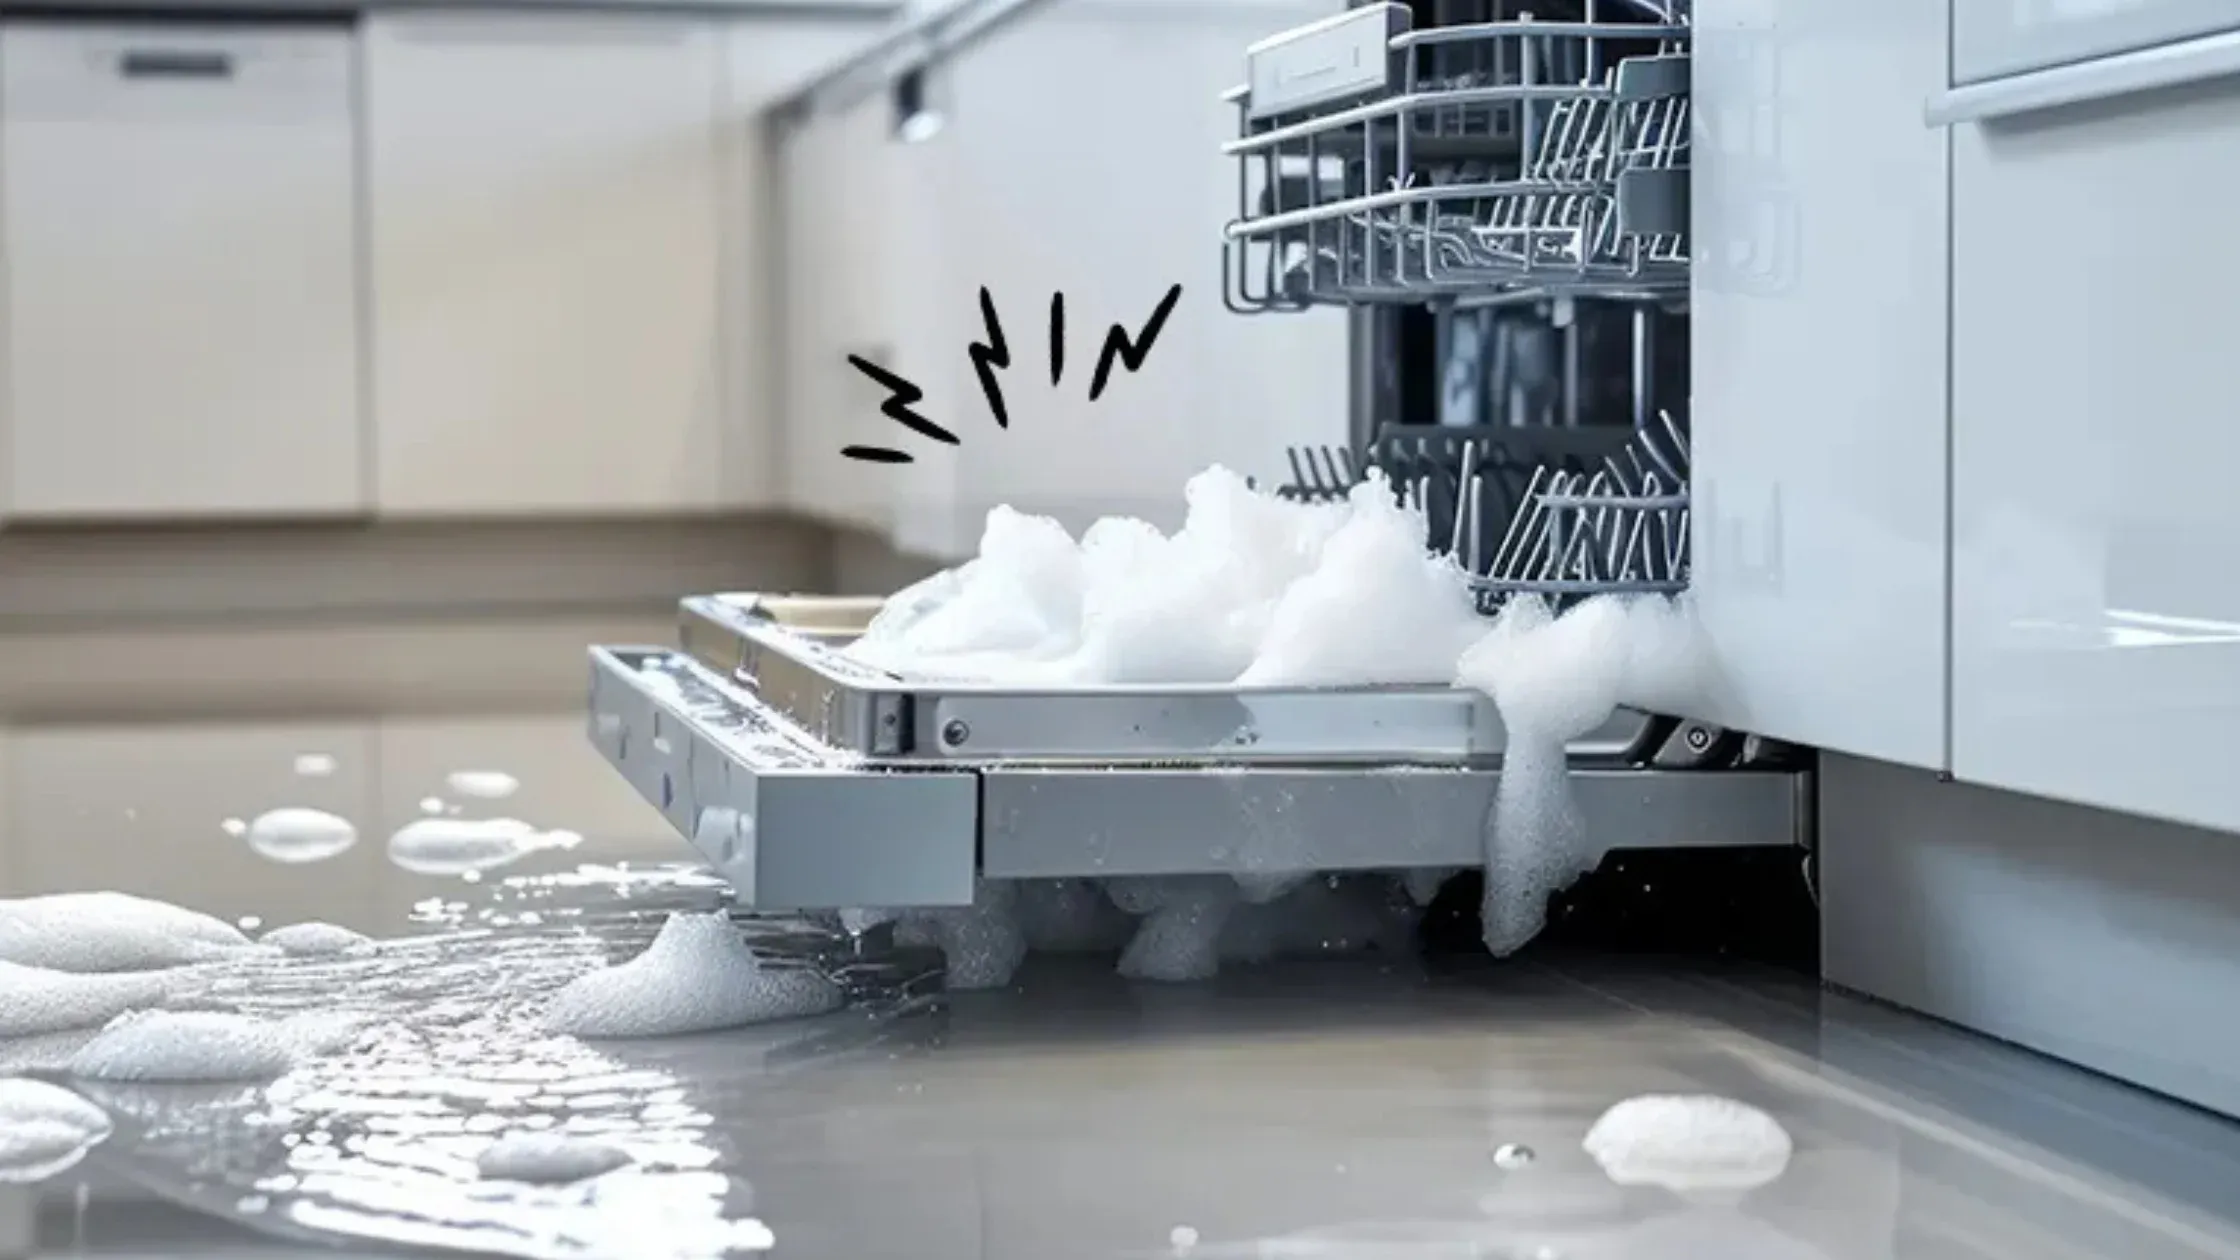
Puddles around your dishwasher are a serious red flag that can lead to costly structural damage and mold growth in your kitchen.
● Worn or cracked door gasket.
● Loose inlet or drain hose connections.
● Over-sudsing from the wrong detergent.
● Cracked tub or failed pump seal.
● Subfloor rot.
● Cabinet swelling.
● Mold growth behind kick plates.
Persistent leaks after gasket replacement may indicate internal seal failure or tub cracking.
Learn more about this issue in details Dishwasher Leaking Water: Common Causes & Repair Checklist
Sometimes you wonder, "Why is my dishwasher not drying dishes?" Dishes coming out wet is one of the most common and most fixable dishwasher complaints. The cause is almost always one of these things, and most of them you can check yourself in a few minutes.
Rinse aid is not optional. It changes how water behaves on dish surfaces, causing it to sheet off rather than bead and sit. Without it, even a fully functional heating element struggles to dry dishes completely. Check the indicator window on the dispenser inside the door. If it is empty, fill it and run a cycle. If you are already using rinse aid and dishes are still wet, increase the dispenser setting by one level.
Before assuming a mechanical fault, verify that the heated-dry or extra-dry option is selected. Many machines reset to default settings after a power outage.
If those checks do not resolve it, these mechanical causes are next:
● Heating element failure.
● Vent or fan not working.
● Condensation-drying models (Bosch, Miele, and others).
● Loading habits.
● Moisture buildup shortens the lifespan of the control board.
● Chronic dampness increases odor risk.
If dishes are cold at the end of the cycle, the heating system has failed.
Your dishwasher shouldn't sound like a rock concert. Don't ignore these early warning signs.
● Banging or knocking always means something is physically hitting a spray arm as it rotates.
● Rattling usually comes from dishes vibrating against each other or against the rack's metal tines.
● Loud humming combined with poor cleaning performance or very slow drainage is a clear signal that the pump needs attention before it fails.
● If clicking is excessive, or if the machine clicks repeatedly without progressing through the cycle, check that the door is fully latched. A door that is even slightly ajar prevents the cycle from starting properly.
● A high-pitched squeal during operation usually indicates a partially blocked or failing water inlet valve, or that the bearings in the wash motor are beginning to wear out. This sound tends to get louder over the weeks.
● Ignoring the grinding destroys the pump assembly.
● Motor replacement is expensive.
Grinding during every cycle usually means imminent pump failure.
If your unit suddenly stops mid-cycle, refuses to turn on, or repeatedly trips your circuit breaker, you are dealing with a critical electrical issue.
The heating element sits at the bottom of the tub and draws a significant electrical load during wash and dry cycles. Over time:
● Mineral scale builds up on the element.
● The metal sheath weakens.
● Micro-cracks form in the insulation.
The control board is the dishwasher’s central processor. It regulates fill time, wash duration, heating cycles, and drain commands. Boards fail due to:
● Age-related component degradation.
● Voltage fluctuations.
● Moisture exposure.
● Overheating.
Inside the machine, multiple wiring harnesses connect pumps, heaters, sensors, and boards. Failure occurs due to:
● Heat cycling is causing insulation breakdown.
● Rodent damage in some homes.
● Vibration loosening connections.
● Water leaks are dripping onto the wiring.
Dishwashers contain seals to protect electronics. If a door gasket leaks or condensation builds excessively, moisture can migrate into the control housing.
● Fire hazard.
● Shock risk.
● Progressive component failure.
A dishwasher is useless if the buttons won't register your commands.
Steam rises during high-heat cycles. Over the years, that moisture seeps behind the control panel.
Most modern dishwashers use a membrane keypad. Under each button is a thin conductive layer that completes a circuit when pressed. Over time:
● The membrane wears out.
● Contacts lose conductivity.
● Adhesive layers separate.
If the panel lights up but does not respond properly, the board may be misinterpreting inputs.
Voltage spikes from storms or grid fluctuations can damage sensitive electronic components.
● Board replacements are costly.
● Often signals overall aging of electronics.
Cut power at the circuit breaker for five full minutes, then restore it. This clears minor software glitches that can cause the panel to become non-responsive. If the machine works normally after a reset, the issue is intermittent and may be related to voltage fluctuations. Consider a surge protector at the outlet.
● Moisture infiltration. Over the years, steam from high-heat cycles seeps behind the control panel, corroding contacts and shorting membrane layers.
● Failed membrane switch. Each button in a membrane keypad completes a circuit through a thin conductive layer. Once the layer wears through or the adhesive separates, pressing the button no longer sends a signal.
● Control board failure. If the panel lights up but does not respond correctly, the board may be misinterpreting or ignoring inputs. A power surge is a common trigger for sudden, complete panel failure.
● If still unresponsive, board replacement is likely.
A bad smell emanating from your dishwasher means it's time for some deep cleaning. Primary sources of Bad Smell:
● Food trapped in the filter or sump. The sump area below the filter collects fine debris. Grease binds to food particles, forming sludge that harbors bacteria. Clean the filter thoroughly and use a paper towel to wipe out any visible sludge from the sump cavity.
● Mold in the door gasket folds. The rubber gasket retains moisture between cycles. If the door stays closed constantly, that moisture never dries. Pull back the gasket folds and look for black or grey spotting. Scrub with a toothbrush dipped in a baking soda and water paste, then rinse.
● Stagnant water from incomplete drainage. If a small amount of water remains in the sump between cycles, it becomes a bacterial incubator. If the smell returns within a day or two of cleaning, drainage restriction not cleanliness is the real issue.
● Bacteria inside the spray arms. Food particles trapped in the spray arms' hollow interiors decompose. Remove the arms and flush them under running water, using a toothpick to clear each hole.
● Indicates poor drainage or filtration.
● Can signal a hidden plumbing backflow issue.
1. Remove and scrub the filter.
2. Wipe the door gasket folds with a damp cloth.
3. Run an empty cycle on the hottest setting with a cup of white vinegar on the top rack.
4. If smell returns within 48 hours despite this routine, suspect a drainage blockage. Learn more to know how to fix this bad smells.
Cloudy glasses and a chalky white film on dishes, tub walls, or the inside of the door share the same root cause: Sacramento's hard water. The municipal supply registers 150-300 parts per million of dissolved calcium and magnesium classified as hard to very hard. When water evaporates during the drying cycle, those minerals are left behind as a visible white deposit.
Before treating the problem, spend two minutes confirming which type of cloudiness you are dealing with on your glasses, because only one is reversible.
● Soak a cloudy glass in a 50/50 mix of white vinegar and water for five minutes.
● If the cloudiness disappears, you have mineral buildup a reversible, preventable condition.
● If the cloudiness does not change, you have etched physical damage to the glass surface caused by too much detergent, very soft water, or repeated high-heat cycles on delicate glassware.
● Etching is permanent and cannot be treated. To prevent it from going forward, use less detergent, run a cooler cycle for wine glasses and delicate items, and wash crystal or antique glassware by hand.
● White film on dishes and tub walls is always a mineral deposit, never etching. It appears as a dull, chalky coating on plates, tub walls, and the inside of the door, and it is entirely a water-quality issue rather than a machine fault.
● Keep rinse aid topped up at all times. This is the single most effective step.
● Run a monthly descaling cycle. Place a cup of white vinegar upright on the top rack and run a full hot cycle with nothing else in the machine. This dissolves mineral deposits from the tub, spray arm holes, and internal components simultaneously.
● Check your water softener. If your home has one, verify that it is operating correctly and that the salt reservoir is not depleted. A bypassed or empty softener sends fully hard water to every appliance in the house.
● Use a dedicated dishwasher cleaner monthly. Products such as Finish Dishwasher Cleaner or Affresh are formulated for hard water scale and work well alongside the vinegar cycle as a maintenance step.
Hard water mineral buildup that is not treated regularly does not stay on dishes it migrates into the heating element, pump impeller, and water inlet valve over time, accelerating wear on all three. If you are seeing heavy scale on dishes, the same buildup is occurring inside components you cannot see.

If your dishwasher door won't latch properly or pops open mid-cycle, it will disrupt the entire cleaning process..
● Broken latch assembly. The latch mechanism that holds the door closed wears down over time.
● Worn door strike. A worn or misaligned strike means the latch never fully seats, creating a gap that lets steam escape and water drip.
● Residue buildup on the door gasket. A layer of grease or food debris on the rubber seal prevents it from sitting flush against the door frame.
● Warped door panel. An impact or uneven installation can warp the door frame so the gasket no longer makes consistent contact. This creates persistent gaps and may require a door panel replacement.
● Door spring tension. Some models use springs to maintain door tension. A weak or broken spring allows the door to rest slightly ajar rather than pressing firmly against the seal.
● The cycle won’t start if the latch doesn’t engage.
● Improper seal leads to leaks.
● Heat escapes during the wash cycle.
A door that pops open mid-cycle is a latch failure replace the latch assembly promptly. Running the machine with a faulty door seal causes water damage to the surrounding cabinets and flooring over time.
Modern dishwashers like Bosch, Kenmore, Whirlpool, Samsung communicate through error codes. When something goes wrong, a code appears on the display. The meaning of each code varies by brand, but some patterns are consistent.
Your owner's manual is the most reliable source. If you do not have it, search the brand name plus the model number plus the error code you see. Manufacturers like Bosch, Whirlpool, LG, Samsung, and GE all publish error code guides online.
Drainage codes: (often E1, F1, OE, or 5E): These mean the machine could not drain in time. Check the filter, drain hose, and disposal connection.
Water inlet codes: (often E3, FE, IE, or 1E): These mean water is not filling correctly. Check that the water supply valve under the sink is fully open and the inlet hose is not kinked.
Heating codes: (often E4, E7, or HE): These point to problems with the heating element or temperature sensor.
Door latch codes: (often E6 or dE): The machine thinks the door is open. Check that the door is fully closed and the latch clicks.
Motor or pump codes: (often E9 or PE): These usually require a technician.
If you want to clear an error and try again, a basic reset often works. The most common method is to press and hold the Start or Cancel button for 3 to 5 seconds. Another method is to turn off the circuit breaker for the dishwasher for 30 seconds and then turn it back on. After a reset, run a short cycle and see if the error returns. If it does, the underlying problem remains and needs attention.
A code that returns after a reset is the machine telling you it found a real problem it cannot clear on its own. At that point, identify the category of the code and check the related components. If you are not comfortable opening the machine or testing electrical parts, a technician visit makes sense. Chasing an error code without the right tools usually leads to frustration.
A dishwasher typically lasts 9–12 years, but premium brands like Bosch or Miele can exceed 15. Conversely, budget models often struggle after just 7 years.
In Sacramento, Elk Grove local "very hard" water (150–300 ppm) is your machine's biggest enemy. Mineral buildup clogs valves and destroys pumps much faster than in other regions.
To beat the local water quality and extend your machine's life, you must clean the filter monthly, use rinse aid religiously, and run quarterly descaling cycles. These simple habits can add years to your dishwasher’s lifespan. You need to choose right dishwasher detergent for hard water issue.
Once you have a diagnosis and a repair estimate, the decision to fix or replace comes down to one straightforward guideline used across the appliance industry: the 50% rule.
If the repair cost exceeds 50% of the current replacement cost of a comparable machine, replacement is typically the smarter investment. If the repair is less than half the cost, fixing the machine almost always makes better financial sense especially if the machine is under 8 years old and has been well maintained.
Call a professional repair service if:
✓ The dishwasher is leaking onto the floor.
✓ Electrical burning smell present.
✓ Control board failure suspected.
✓ Motor replacement needed.
✓ You are unsure about electrical testing.
✓ Professional dishwasher diagnosis prevents further damage.
● Filter/drain hose/gasket: $80–$150 (parts + labor)
● Water inlet valve: $150–$250
● Heating element: $200–$350
● Drain pump: $200–$350
● Wash pump/motor assembly: $300–$500
● Control board: $250–$450
● New mid-range dishwasher (installed): $700–$1,200
Note: These are estimates. Actual costs depend on brand, model, and parts availability. Fair Appliance Repair provides upfront pricing before any work begins.
Most dishwasher problems are not serious mechanical failures but simple maintenance issues that build up over time, such as clogged filters, blocked spray arms, improper loading, drainage blockages, or a lack of rinse aid. In many cases, basic dishwasher troubleshooting, like cleaning the filter, checking the drain hose, resetting the machine, and ensuring proper water temperature, can restore full performance without the cost of a service call.
However, if your dishwasher is over 8–10 years old, leaking repeatedly, failing to heat, or requiring expensive parts like a motor or control board, replacement may be the smarter long-term investment. Regular maintenance and early diagnosis are the keys to extending your dishwasher’s lifespan and avoiding costly breakdowns.
No. Never use hand-washing soap. It creates excessive suds that will overflow onto your floor and can damage the dishwasher’s internal electronics.
Modern sensors actually work better when they detect food particles. Just scrape off the large chunks and bones; let the machine do the scrubbing.
Not recommended. Because dishwashers use high-pressure water and high-voltage electricity, it is safest to run them only when someone is home and awake to catch potential leaks or fires.
A slight "chemical" smell is normal for the first few uses as new insulation and heating elements heat up. If it smells like burning wires or lasts more than a week, call a pro.
No. Using both creates a chemical concentration that is too high, leading to permanent glass etching (Sign 9) and wasted money. One pod is enough.
Plastic doesn't retain heat like glass or metal, so water doesn't evaporate off it as easily. Use a high-quality rinse aid and the "Extra Dry" setting to help.
Start a cycle, wait 3 minutes, then open the door. The water should be level with or just below the heating element. If the floor of the tub is barely wet, your inlet valve is likely failing.


